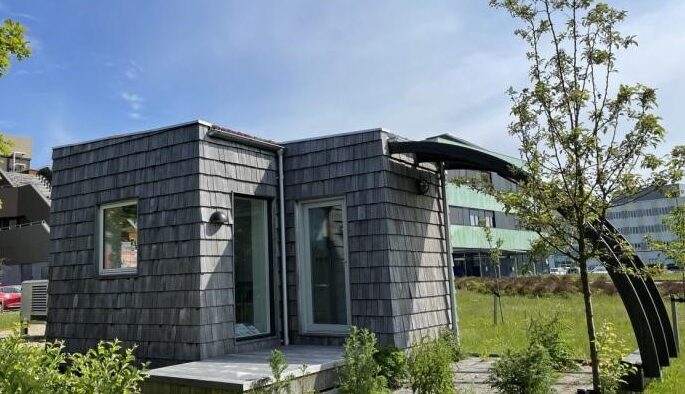
Our DEMO house – step by step
Back in 2019 we built our first demo-project using our ReBLOCK system to showcase its capabilities and design possibilities. The project was carried out with the help of several industrial partners, who all offered their own products and solutions. So that we jointly could show the world what we were capable of. Simply by implementing circular designed and CO2-friendly design methods and construction products. By this project we managed to showcase how to build with a reduced climate and environmental footprint. Meanwhile meeting all the functional and comfort requirements set for a modern building.
NOTE: The following methods or materials are all available today. Free for you to implement and scale up or down depending on your project, if they match your choice of construction method and purpose of use.
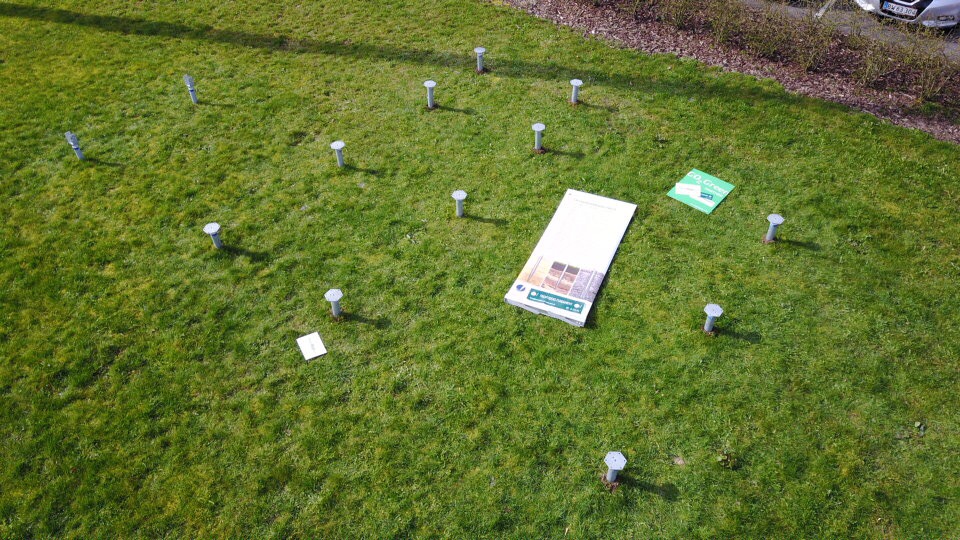
Pile foundation
An alternative to concrete foundations.
Huge reusable steel-screws where installed into the ground to create multiple firm and load bearing support points for our build-up.
The steel screws were installed by a professional contractor, ensuring the correct placement and bearing capacity for the project.
Installation time is counted in hours and not days as no digging is required.
The type and visible height of the pile foundation varies depending on local terrain conditions.
Elevated terrain deck
Floor cassettes made of a wooden frame were installed on top of the pile foundation.
By elevating the terrain deck from the ground. We create a gap between ground and terrain deck that enables a natural airflow underneath the building. An airflow that keeps the terrain deck above dry and sound.
The terrain decks elevated state helps to eliminate the risk of moisture intrusion and soil gases entering the building from the ground up.
And it allows excess surface water to flow freely past and seep into the ground, instead of as with a traditional cast concrete foundation pooling in front of it and allowing water to seep into the building.


First row of blocks
The first row of ReBLOCKs were installed along with various bracing strips for roof anchoring and some guide tubes for electrical wiring.
We invested the necessary time in placing the first layer of ReBLOCKs, as they form the basis for the further work in the subsequent layers.
Getting the first layer right makes the rest of the build a breeze.
We also prepared the placement of doorways in the first row to ensure the correct placement as early as possible in the construction phase.
Going up, up and up
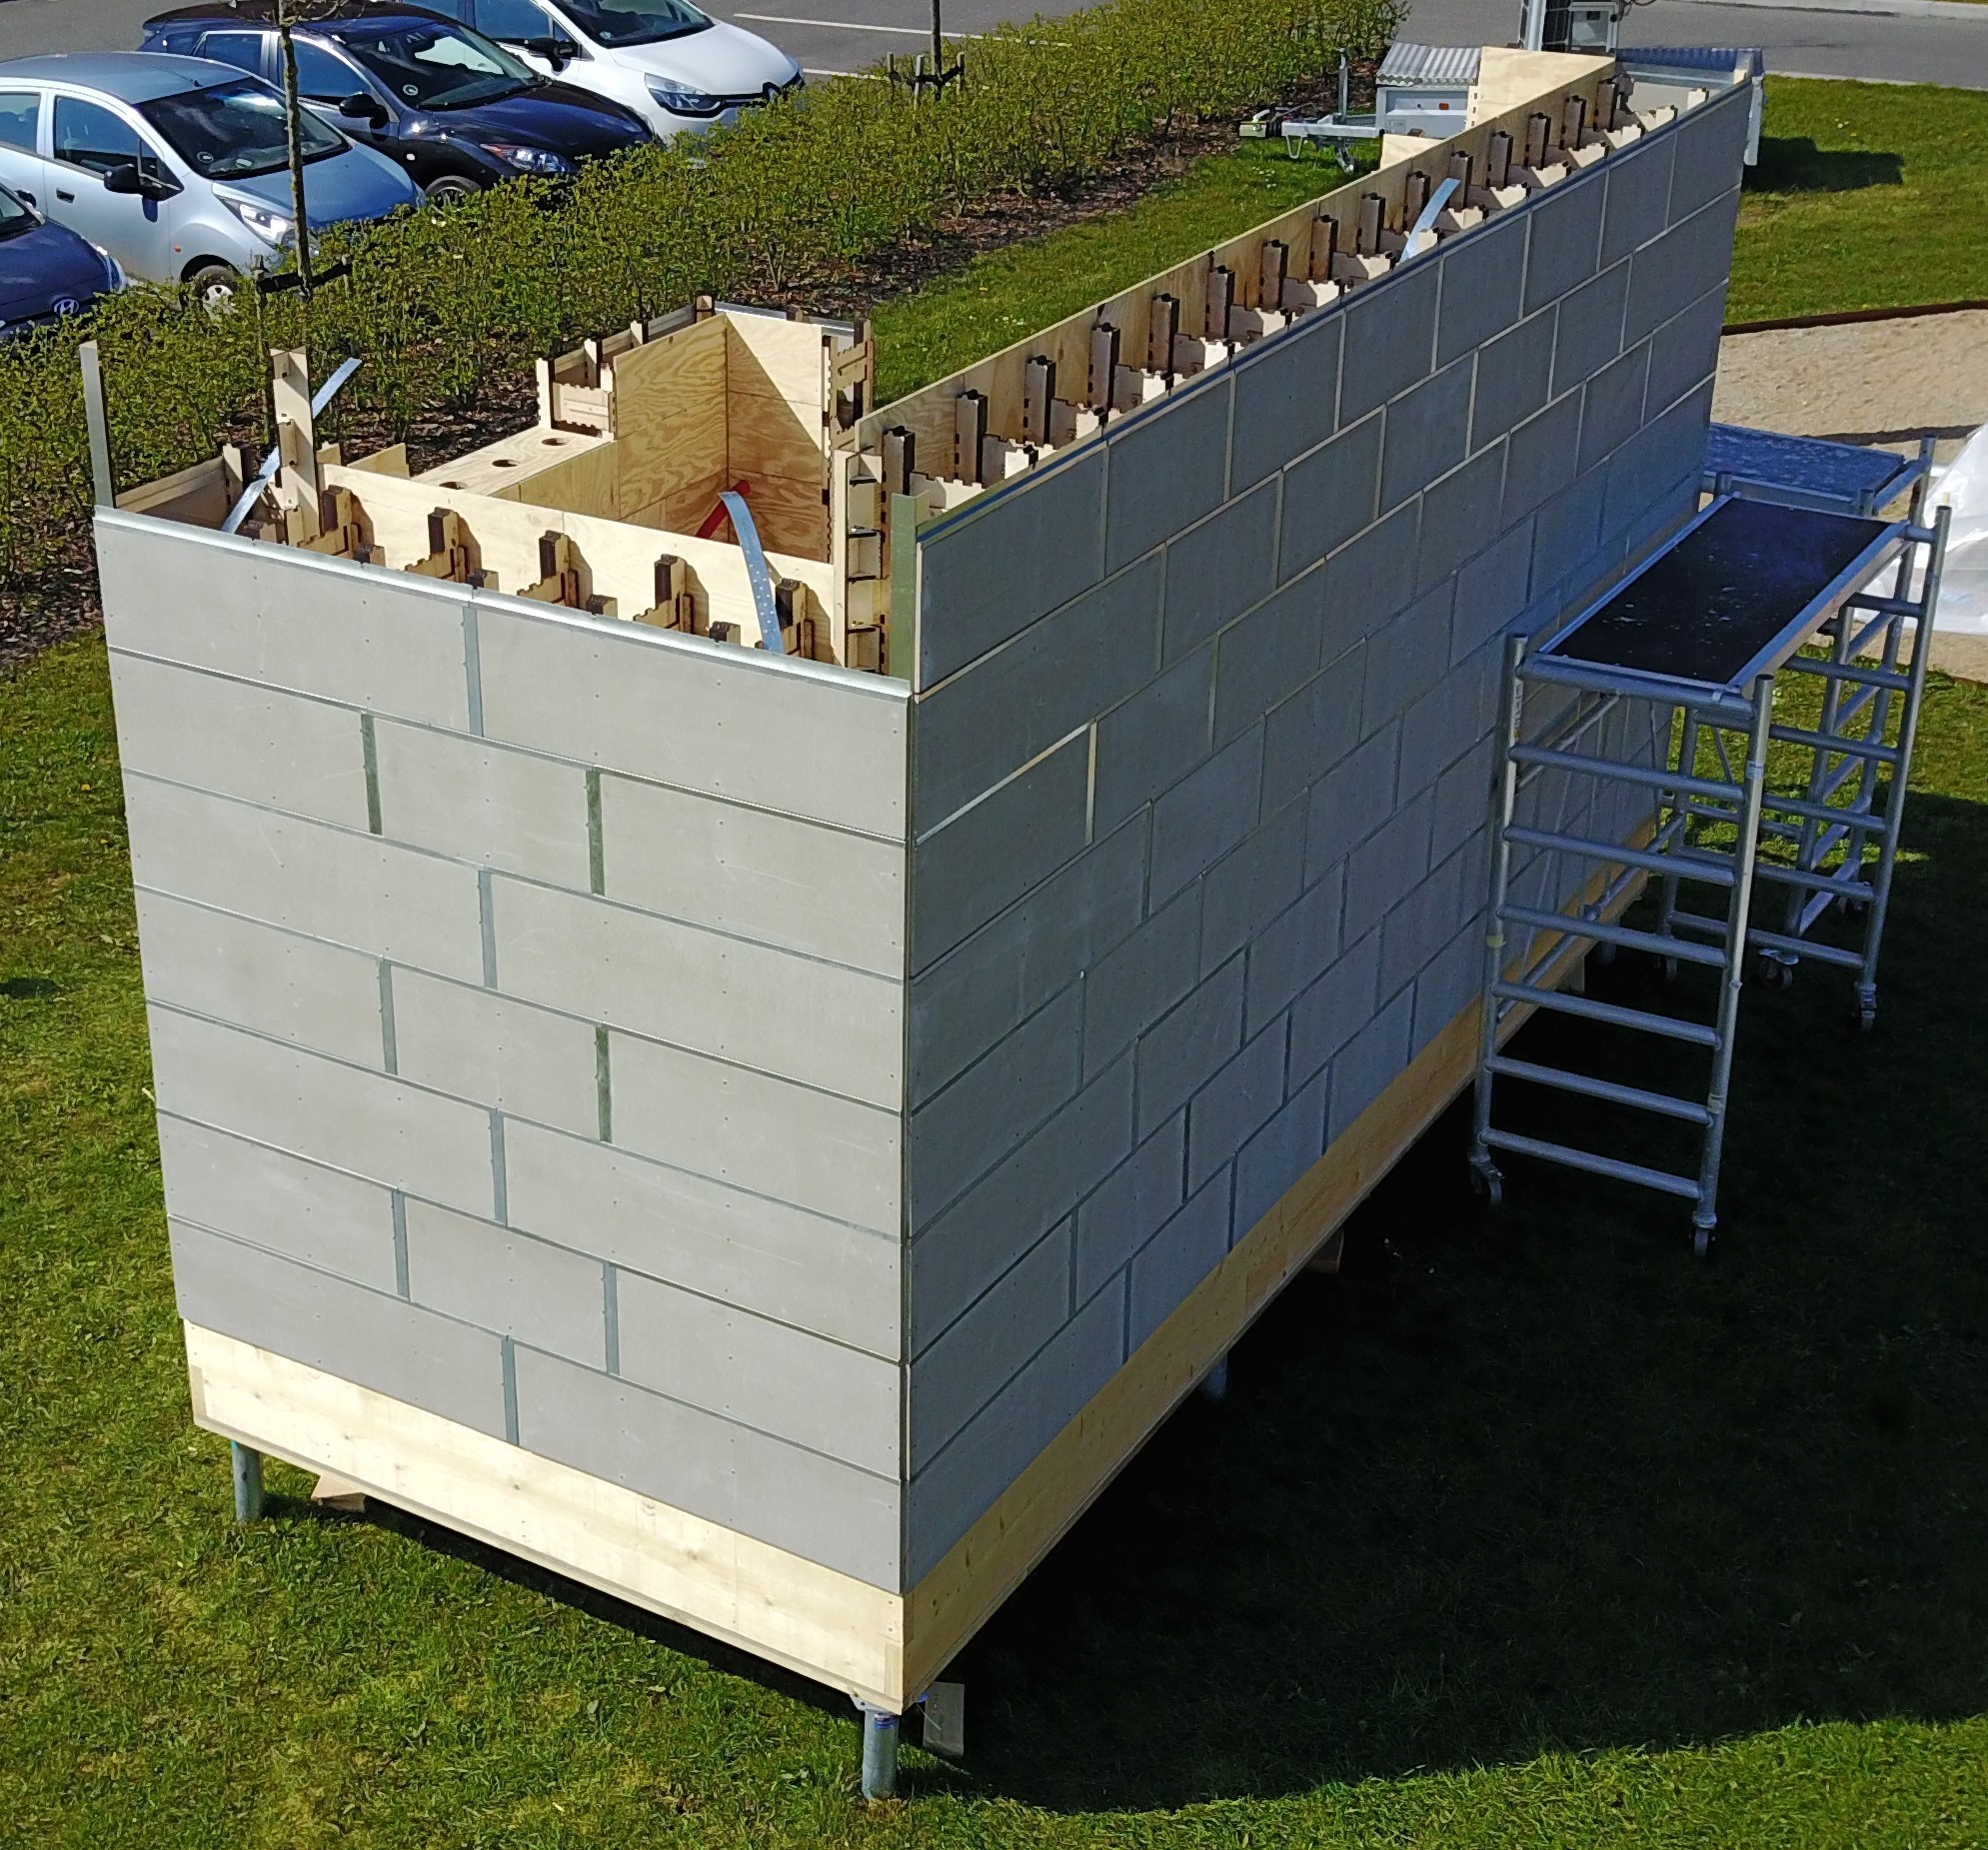
Building up the walls ReBLOCK by ReBLOCK is straight forward. Notice how the ReBLOCKs are stacked in a half-bond pattern so they interlock with the surrounding ReBLOCKs.
For this phase of the construction, there is great help to be found in the accompanying facade drawings, where each individual ReBLOCK element is visualized and numbered according to its location in the building.
The complete ReBLOCK system contains different types of ReBLOCKs for different purposes. Some are for corner structures, others for doors and window openings, etc.. And in combination, they can be assembled into almost any geometry.
Only the imagination sets the limit.
Shape of a building
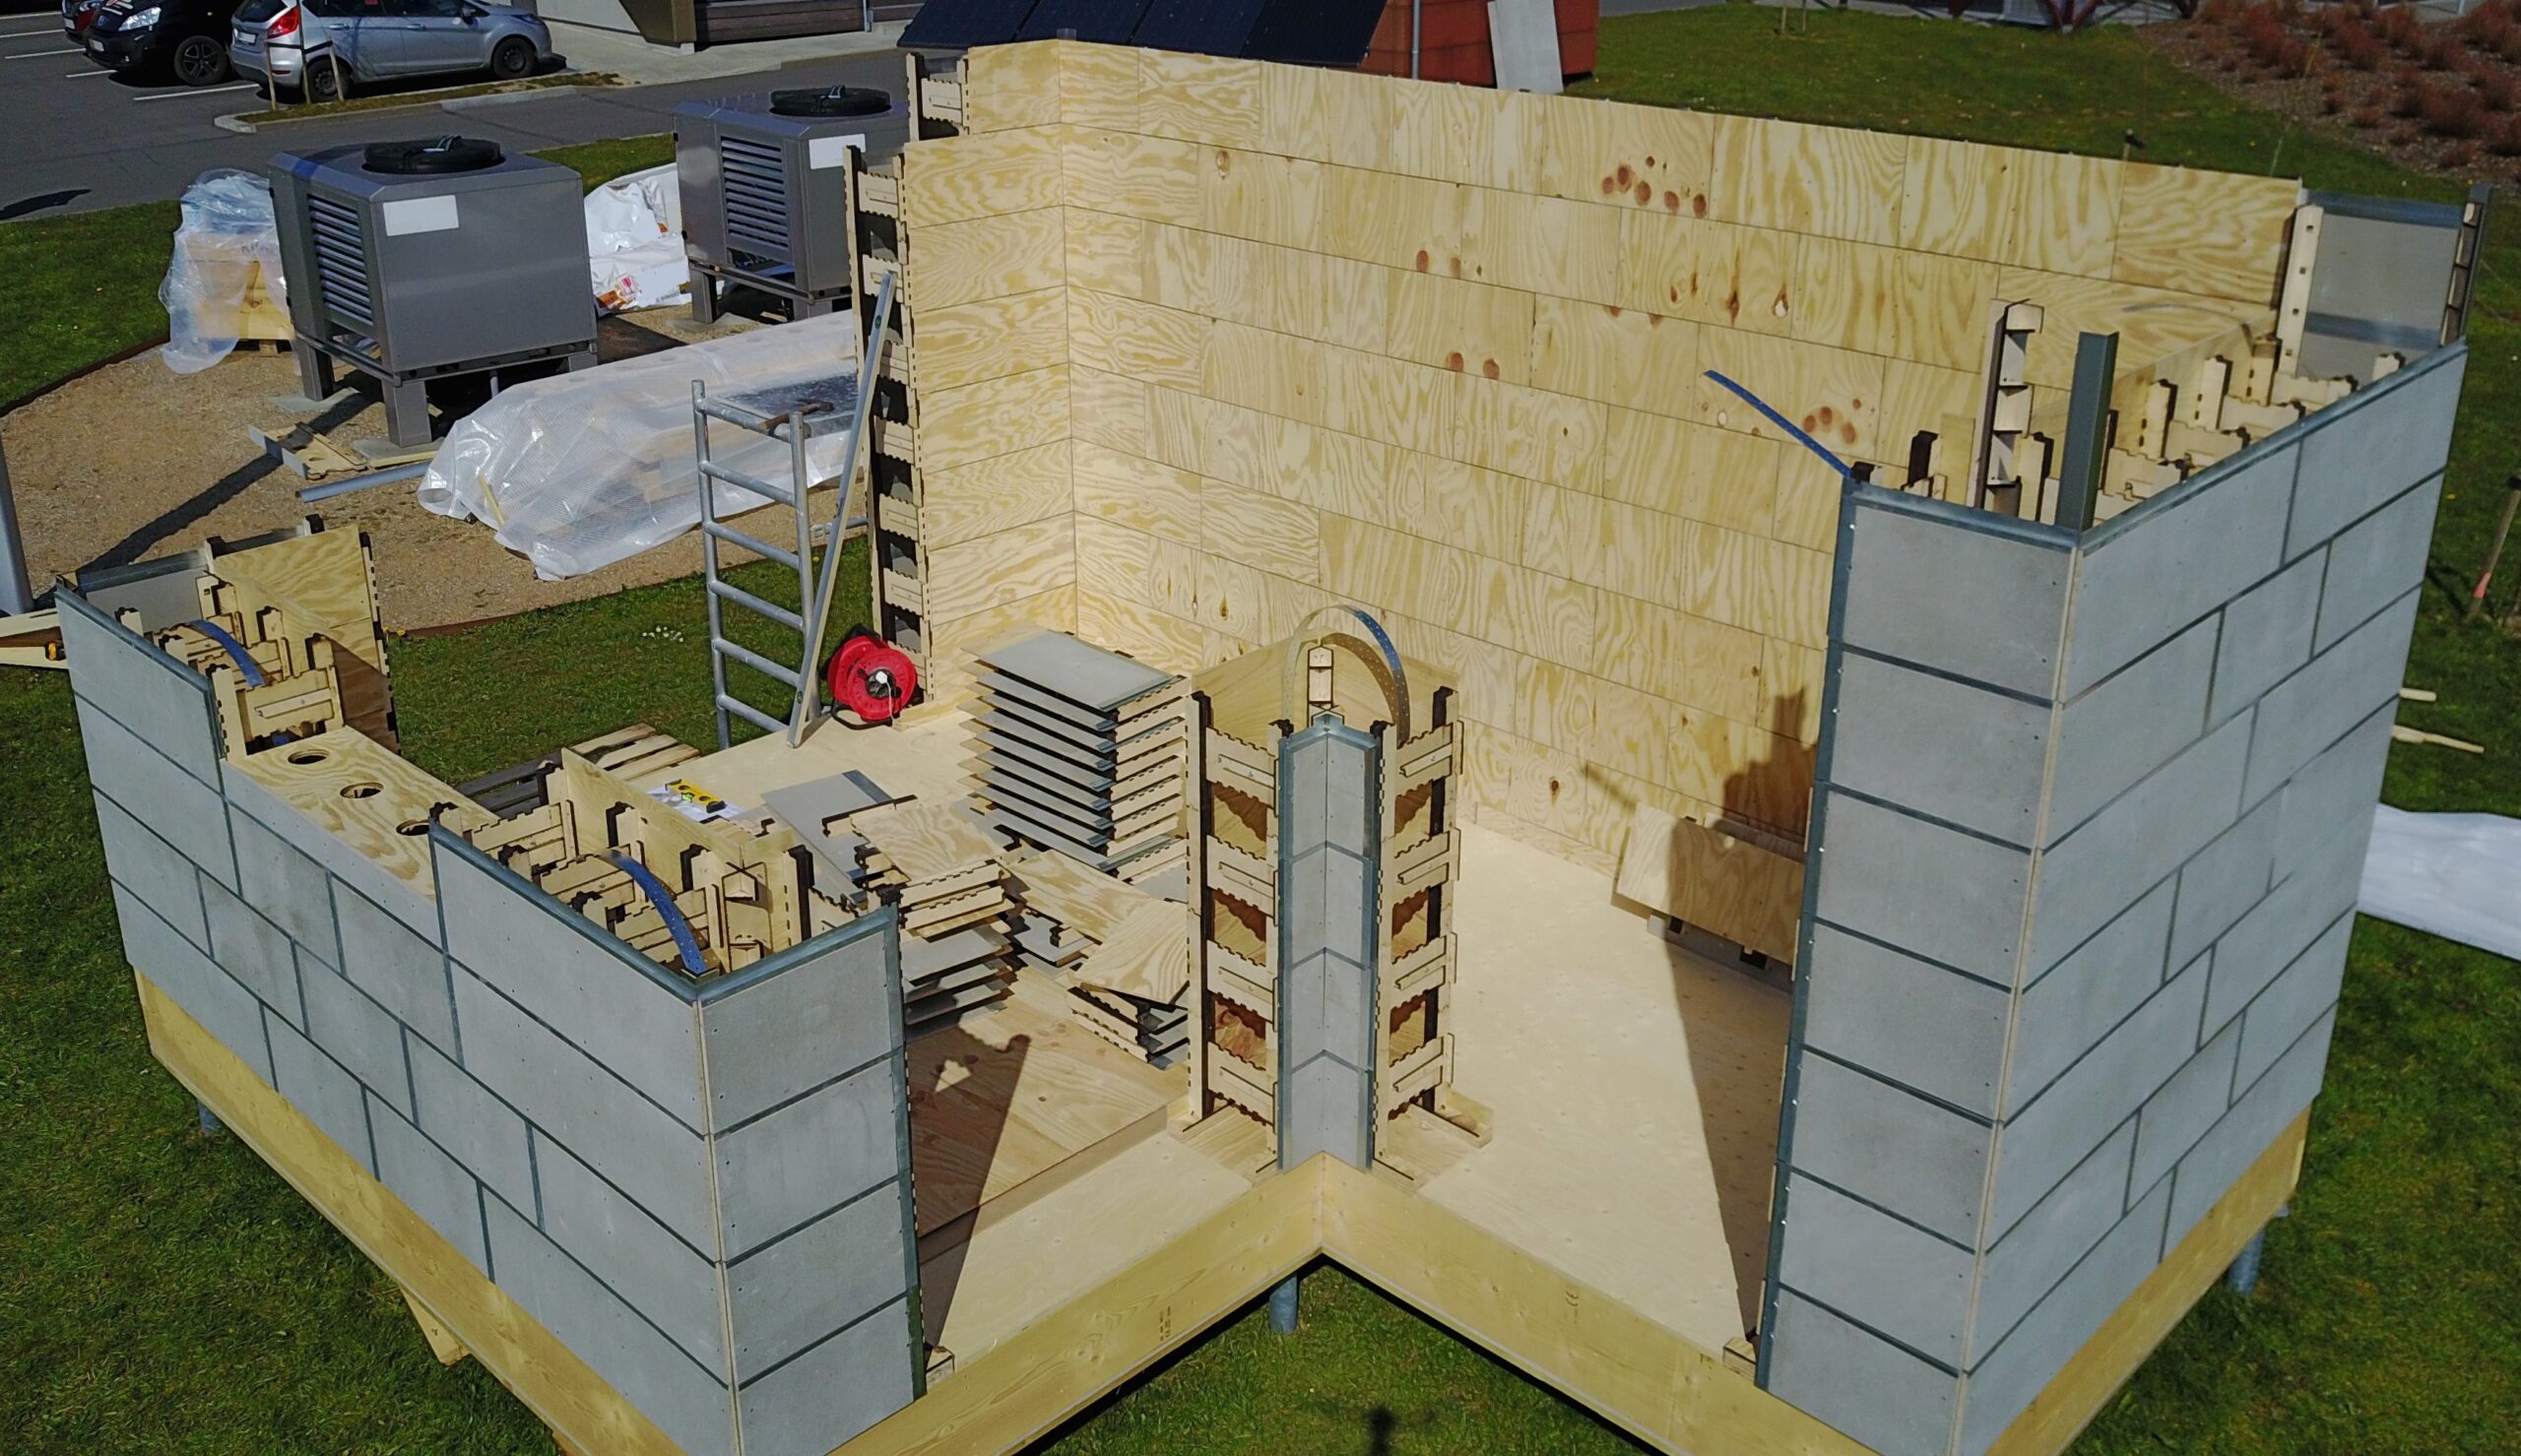
At this stage we really started to see the outline of the demo house. Door and window openings were beging to emerge clearly in the structure. And the amount of ReBLOCKs left to be installed was limited.
We made sure that we had brought up all the bracing strips for the roof anchorage correctly. Inside the cavity of the ReBLOCKs.
Installation of the final ReBLOCKs only required some simple scaffolding to stand on.
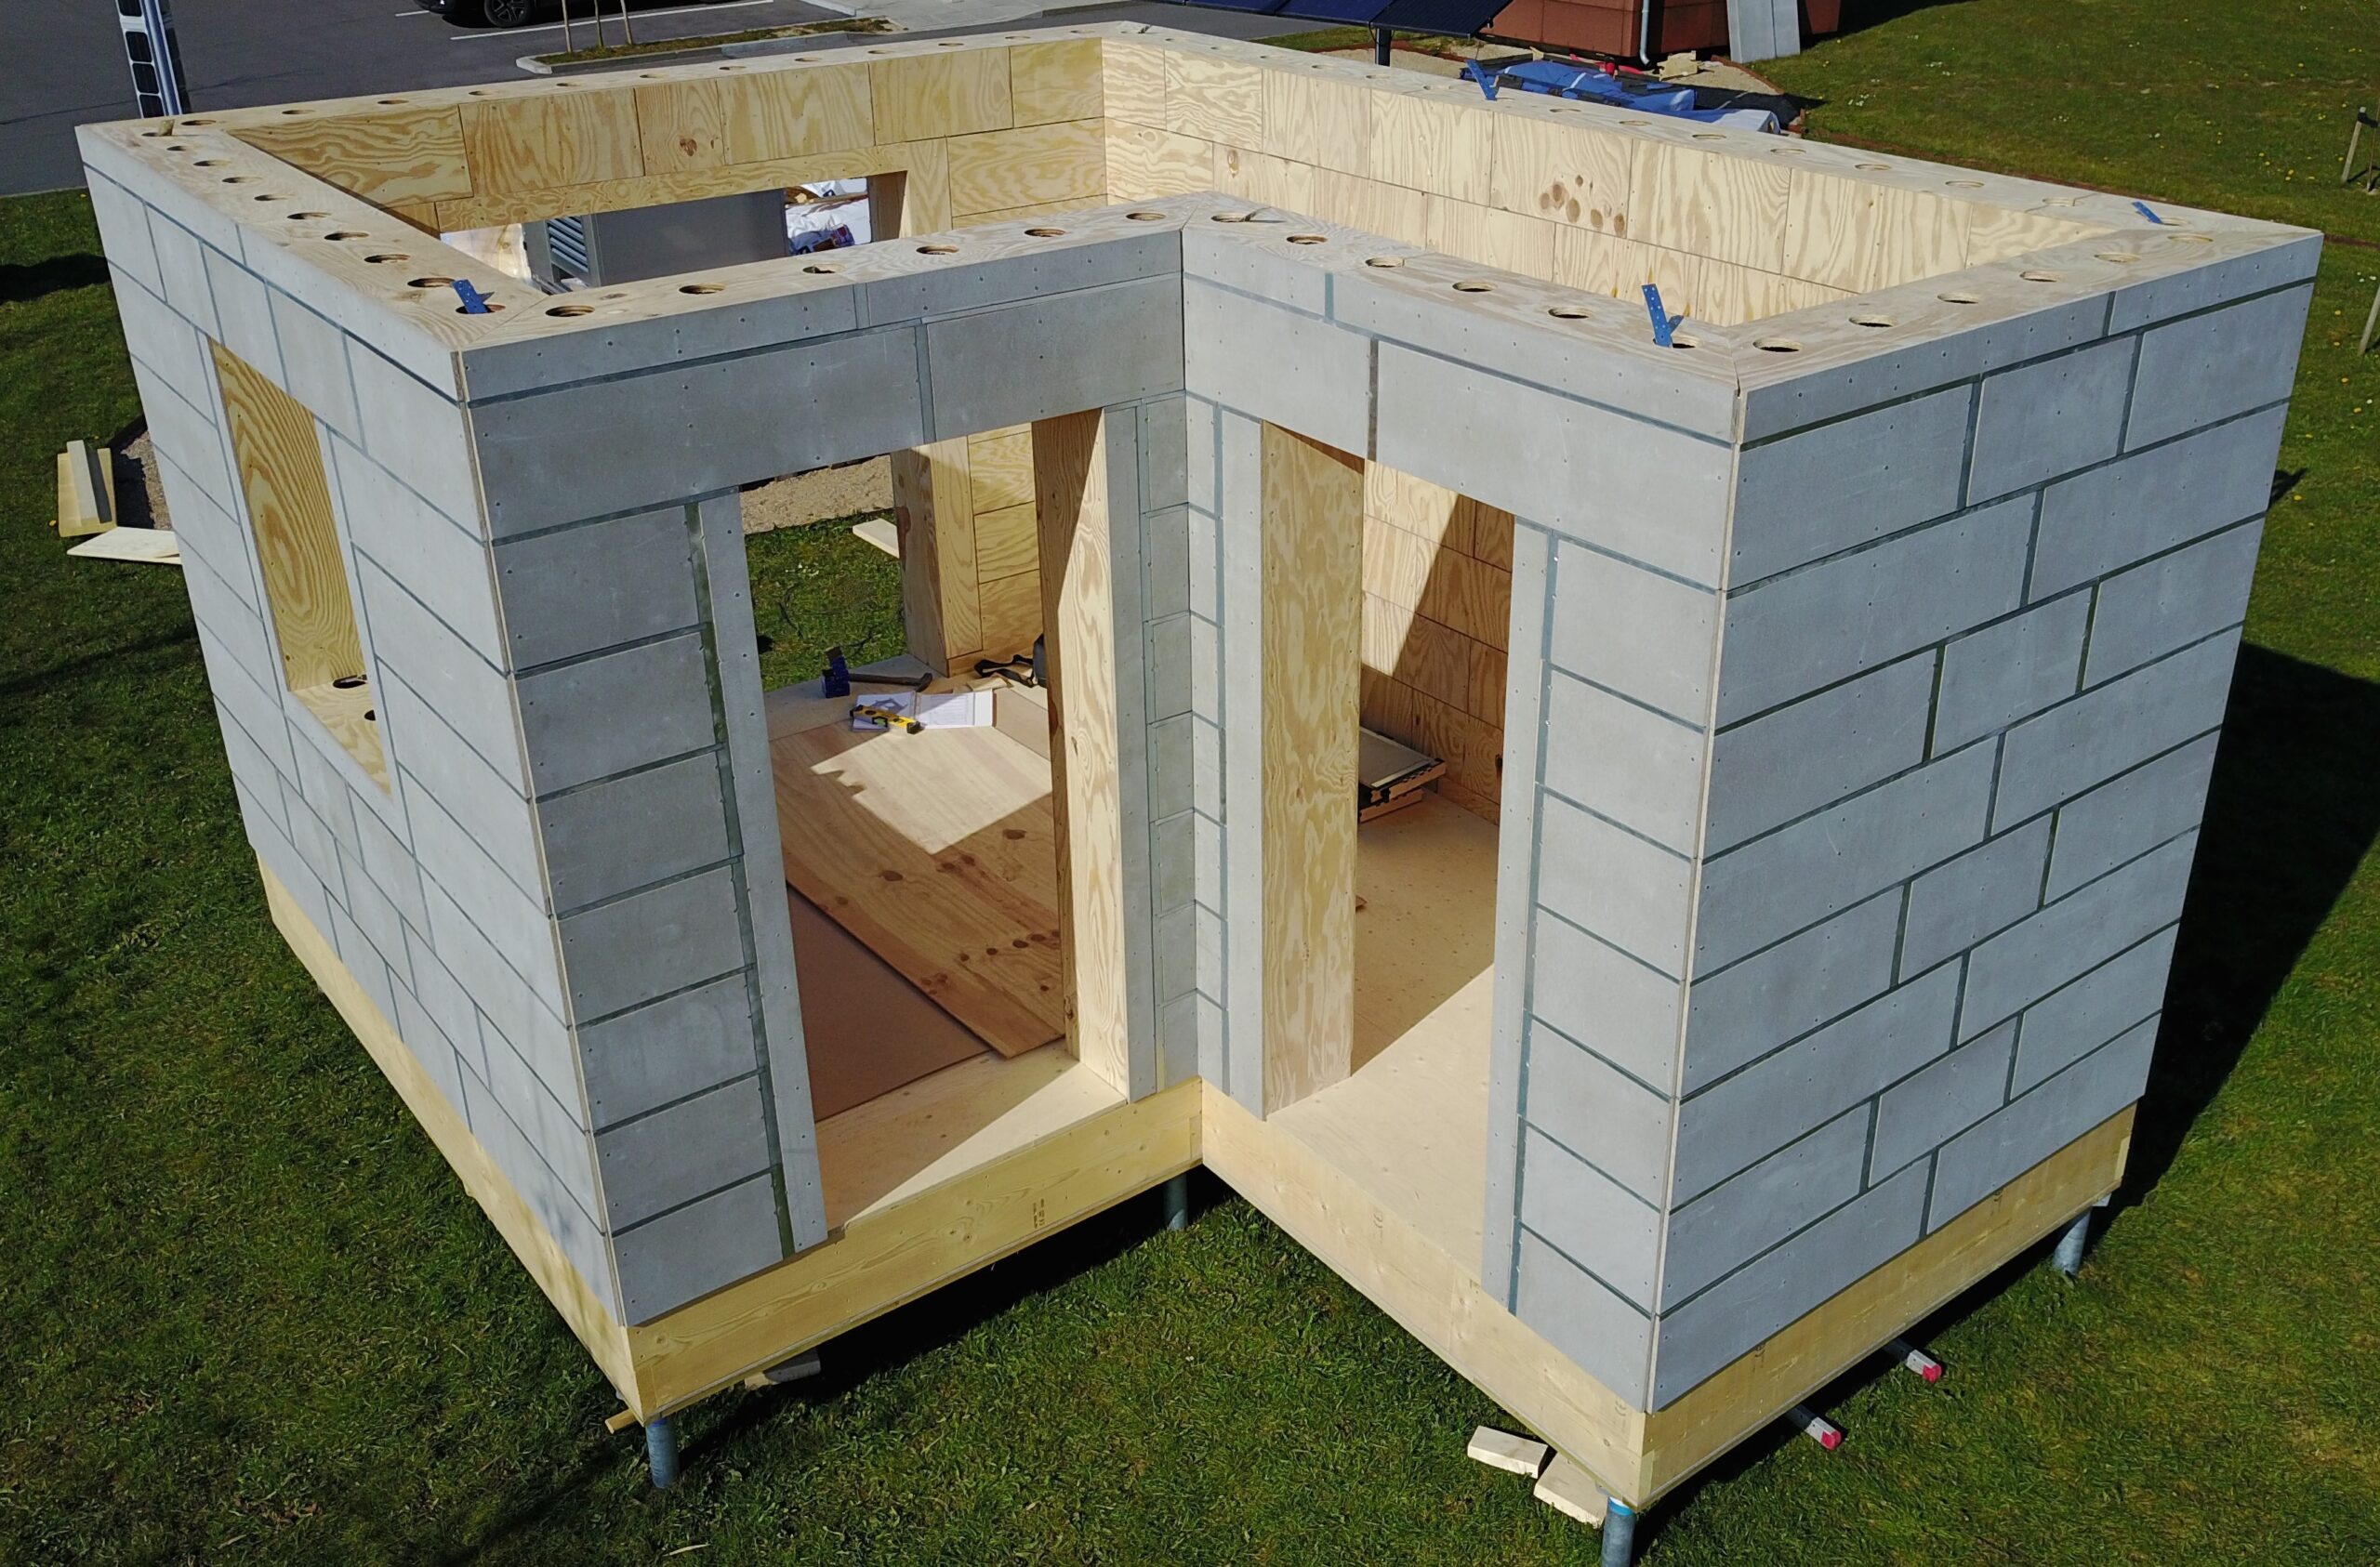
Complete raw house
Installation of the last ReBLOCK components on top of the wall structure marked the completion of the raw house.
Notice how we routed the bracing strips through the top wallplate, making them ready for installation of the roof structure.
The top wall plate comes with a series of pre-made holes. Holes that are to be used when filling the cavity of the ReBLOCK system with insulation material. The ReBLOCK system is designed for blown in loose fill insulation.
The loose fill insulation was installed by a professional contractor, ensuring the correct amount and compactness for the project.
Roof on top
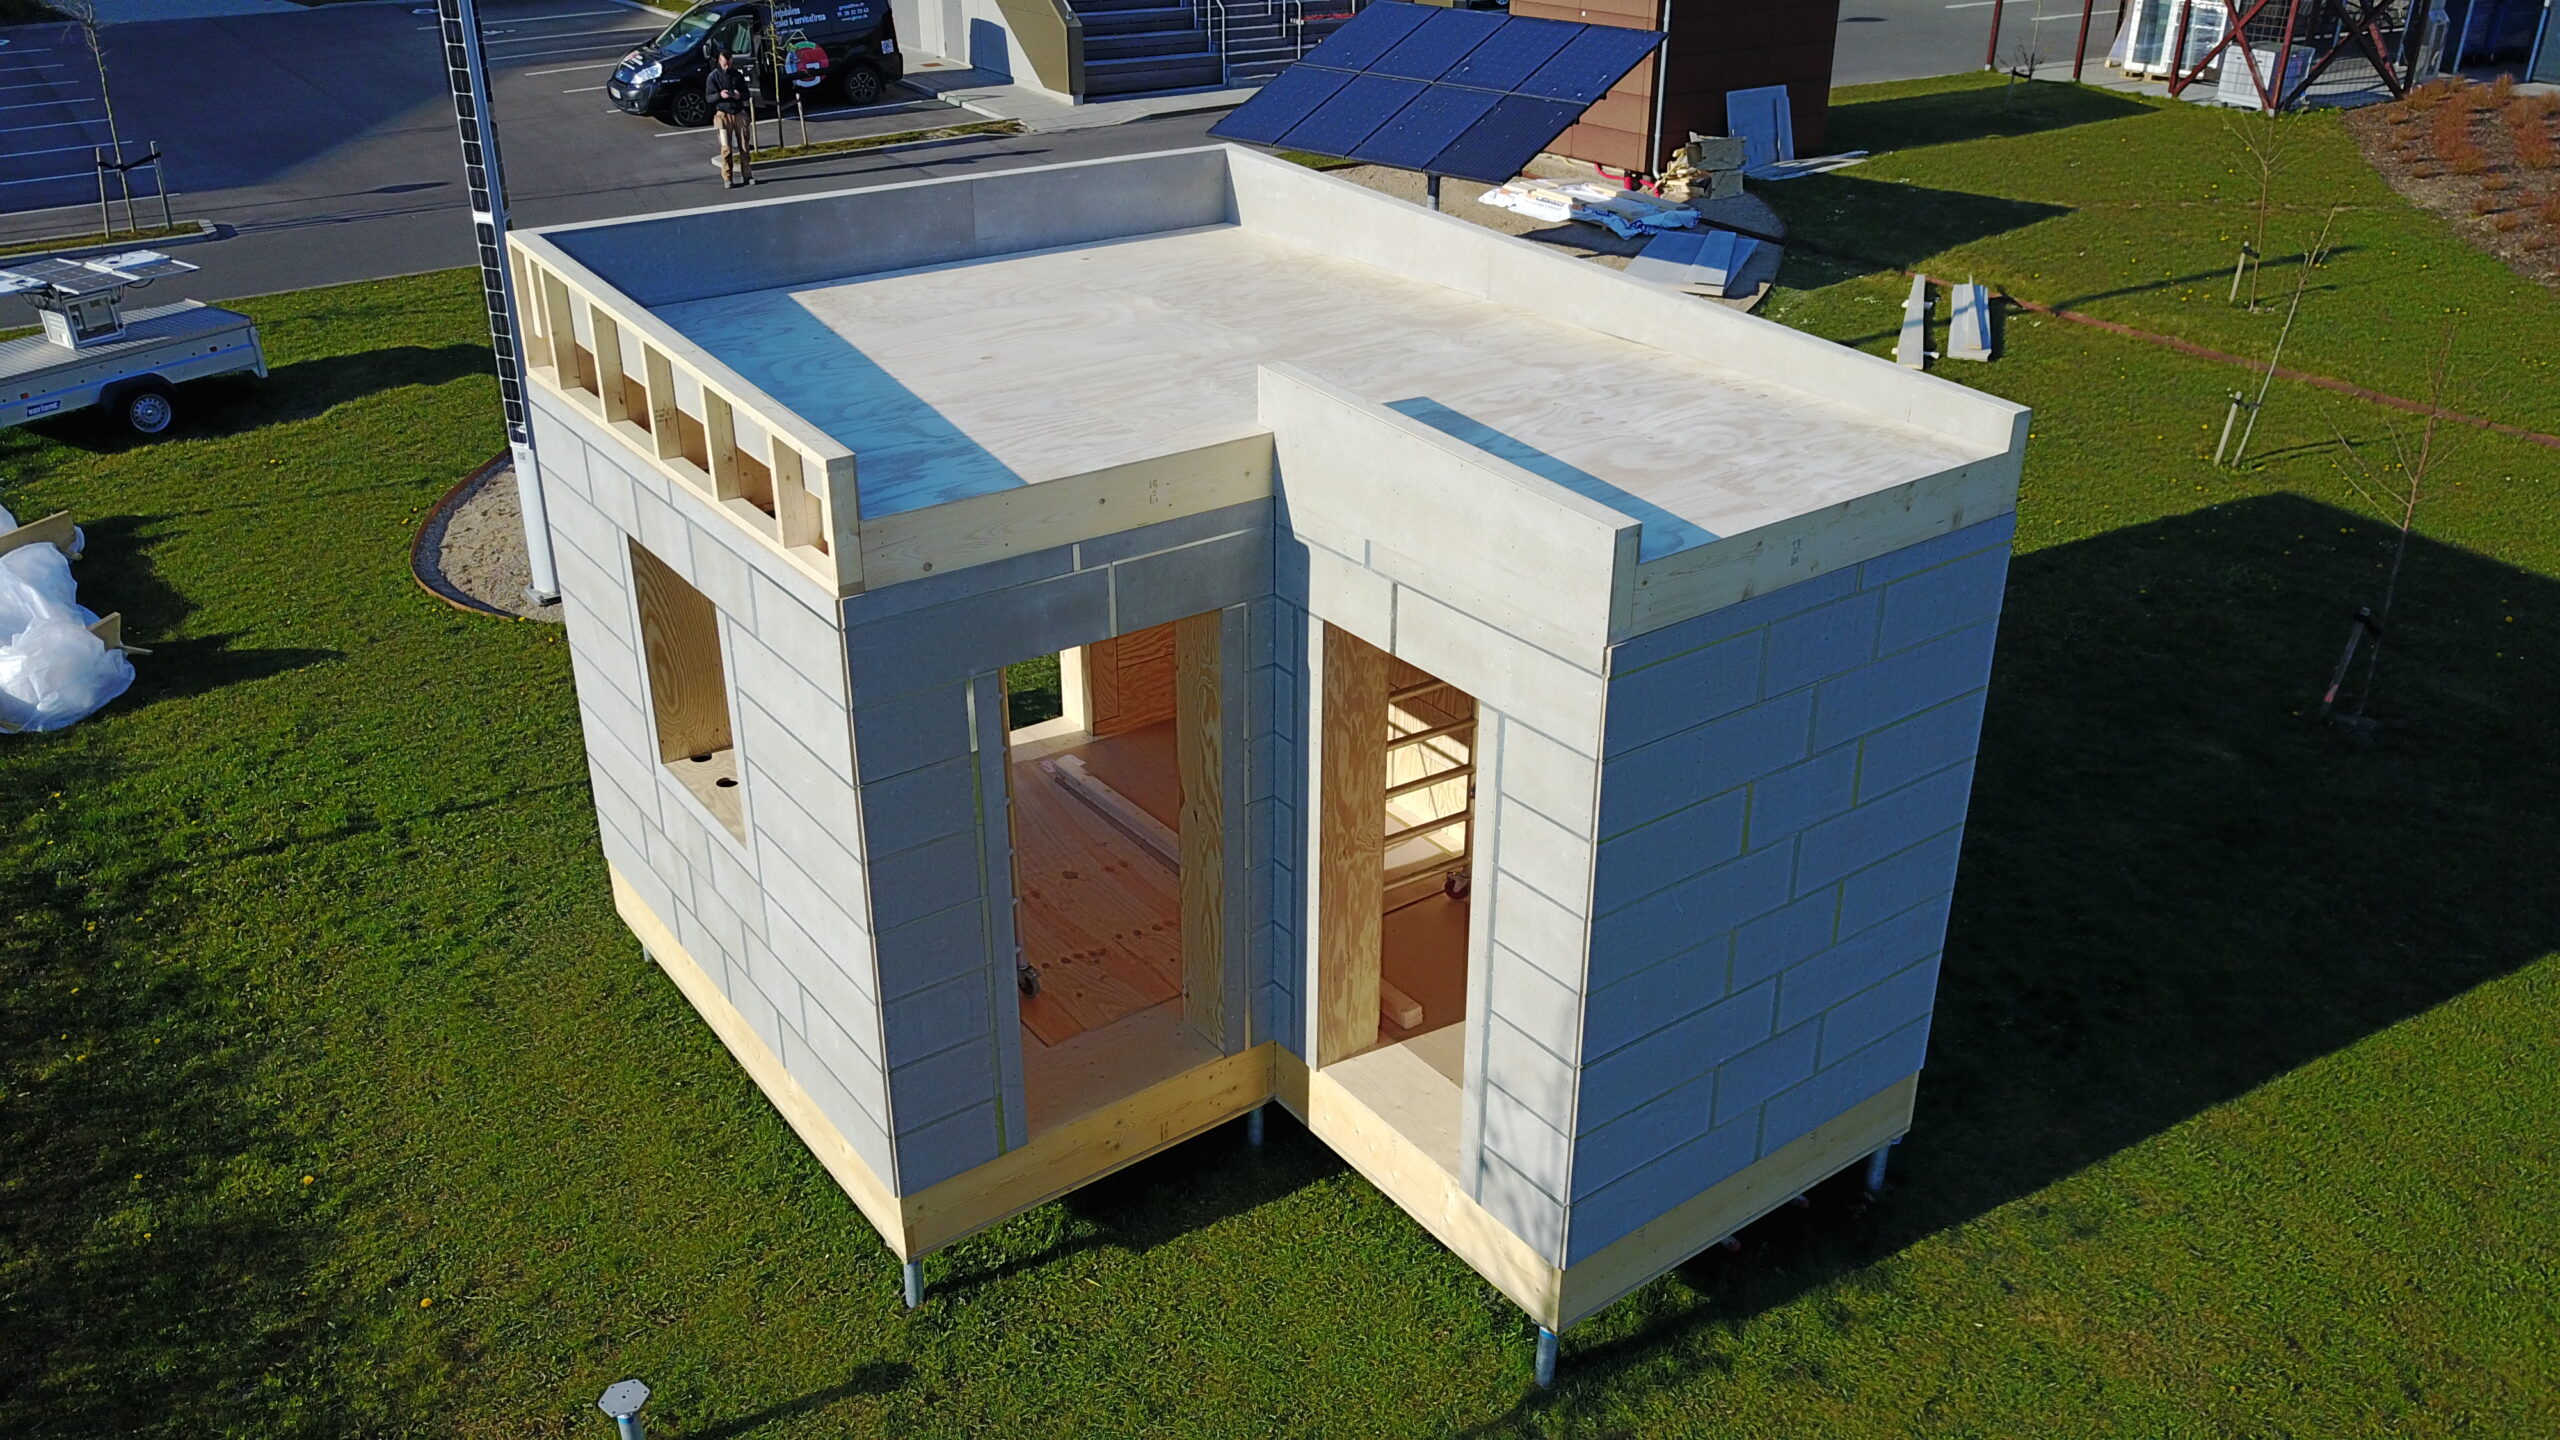
The rafters and the roof covering is installed and rests directly on the top plate of the ReBLOCK wall. The entire ReBLOCK system is load-bearing, and is designed to take the load from the roof and possibly snow loads. Even the load from a floor separations can be carried by the walls in the ReBLOCK system.
We attached and tensioned the bracing strips to the rafters to secure the anchorage of the entire roof against wind drafts. A completely normal procedure as with most other building methods.
Green roof
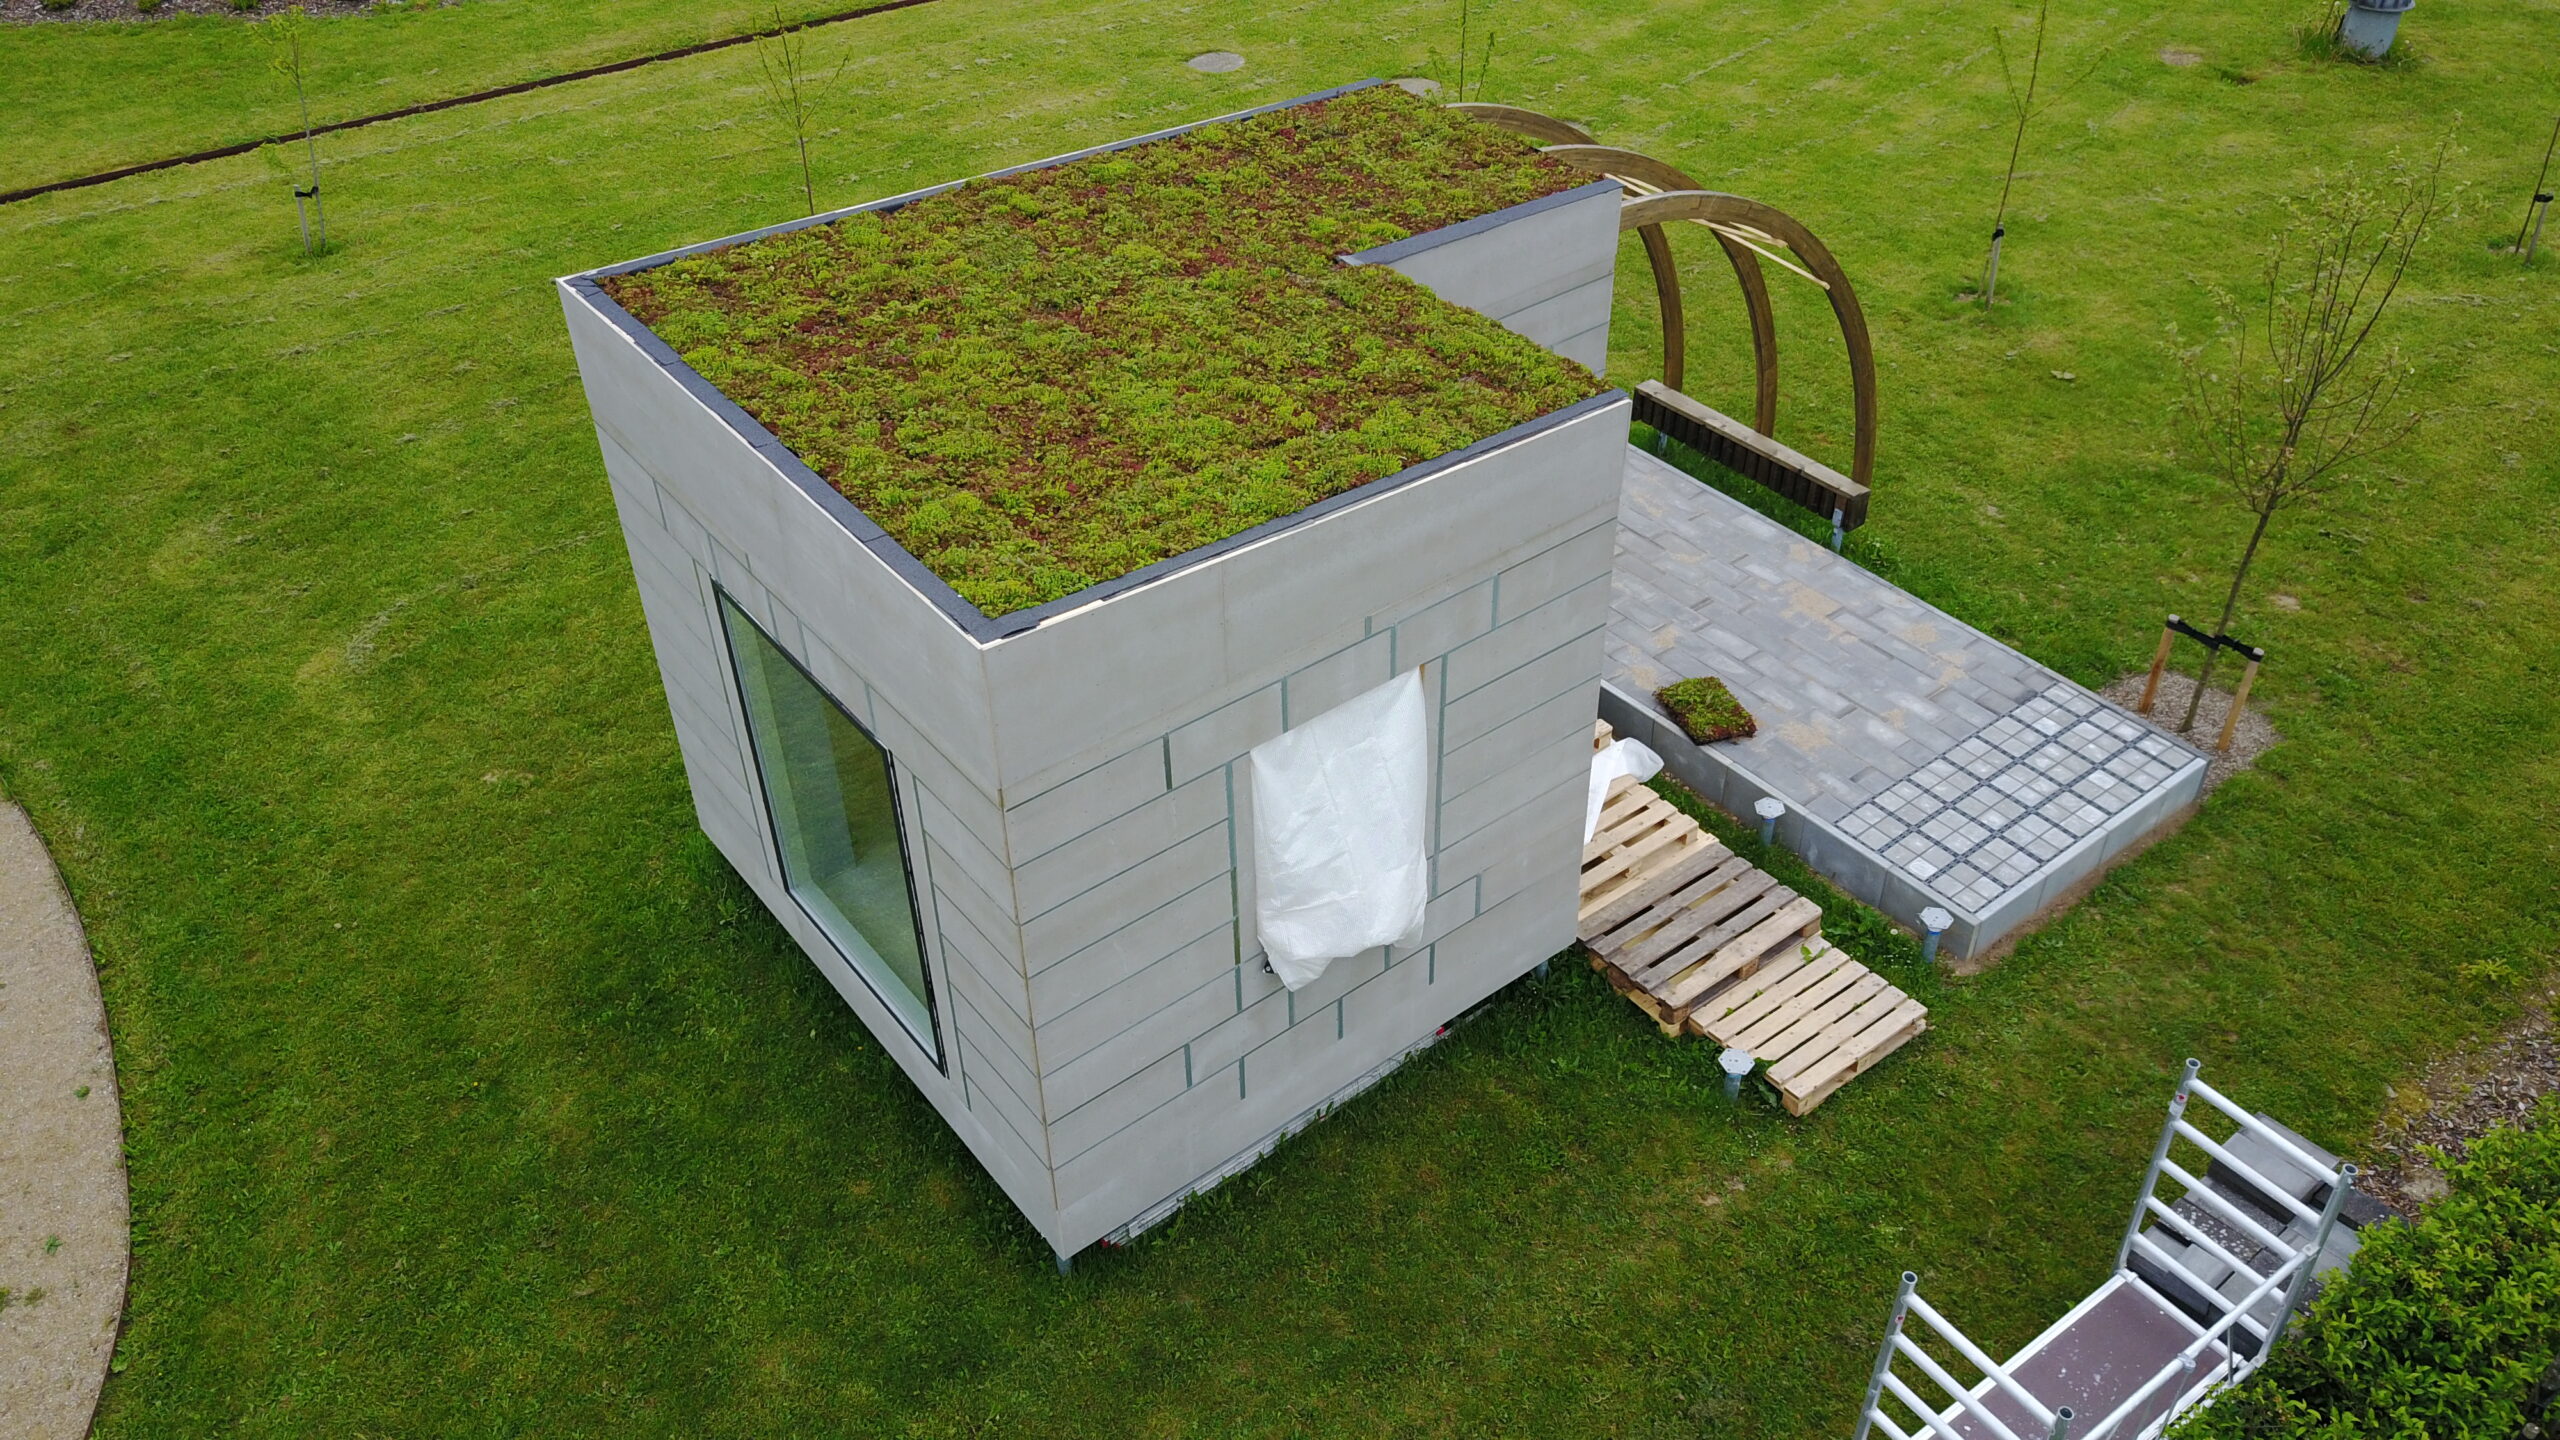
As the top layer of the roofstructure we installed a green roof.
The green roof consists of sedum plants placed in cassettes, which makes them quite easy to install.
The sedum cassettes were simply placed directly on top of the bitumen felt roof covering which we installed as and underlayer for the green roof cover itself. No screws or other fixation was required.
The green roof has the ability to absorb a lot of rainwater. This capability helps to reduce the water load on gutters and downpipes during heavy rainfalls.
Facade cladding
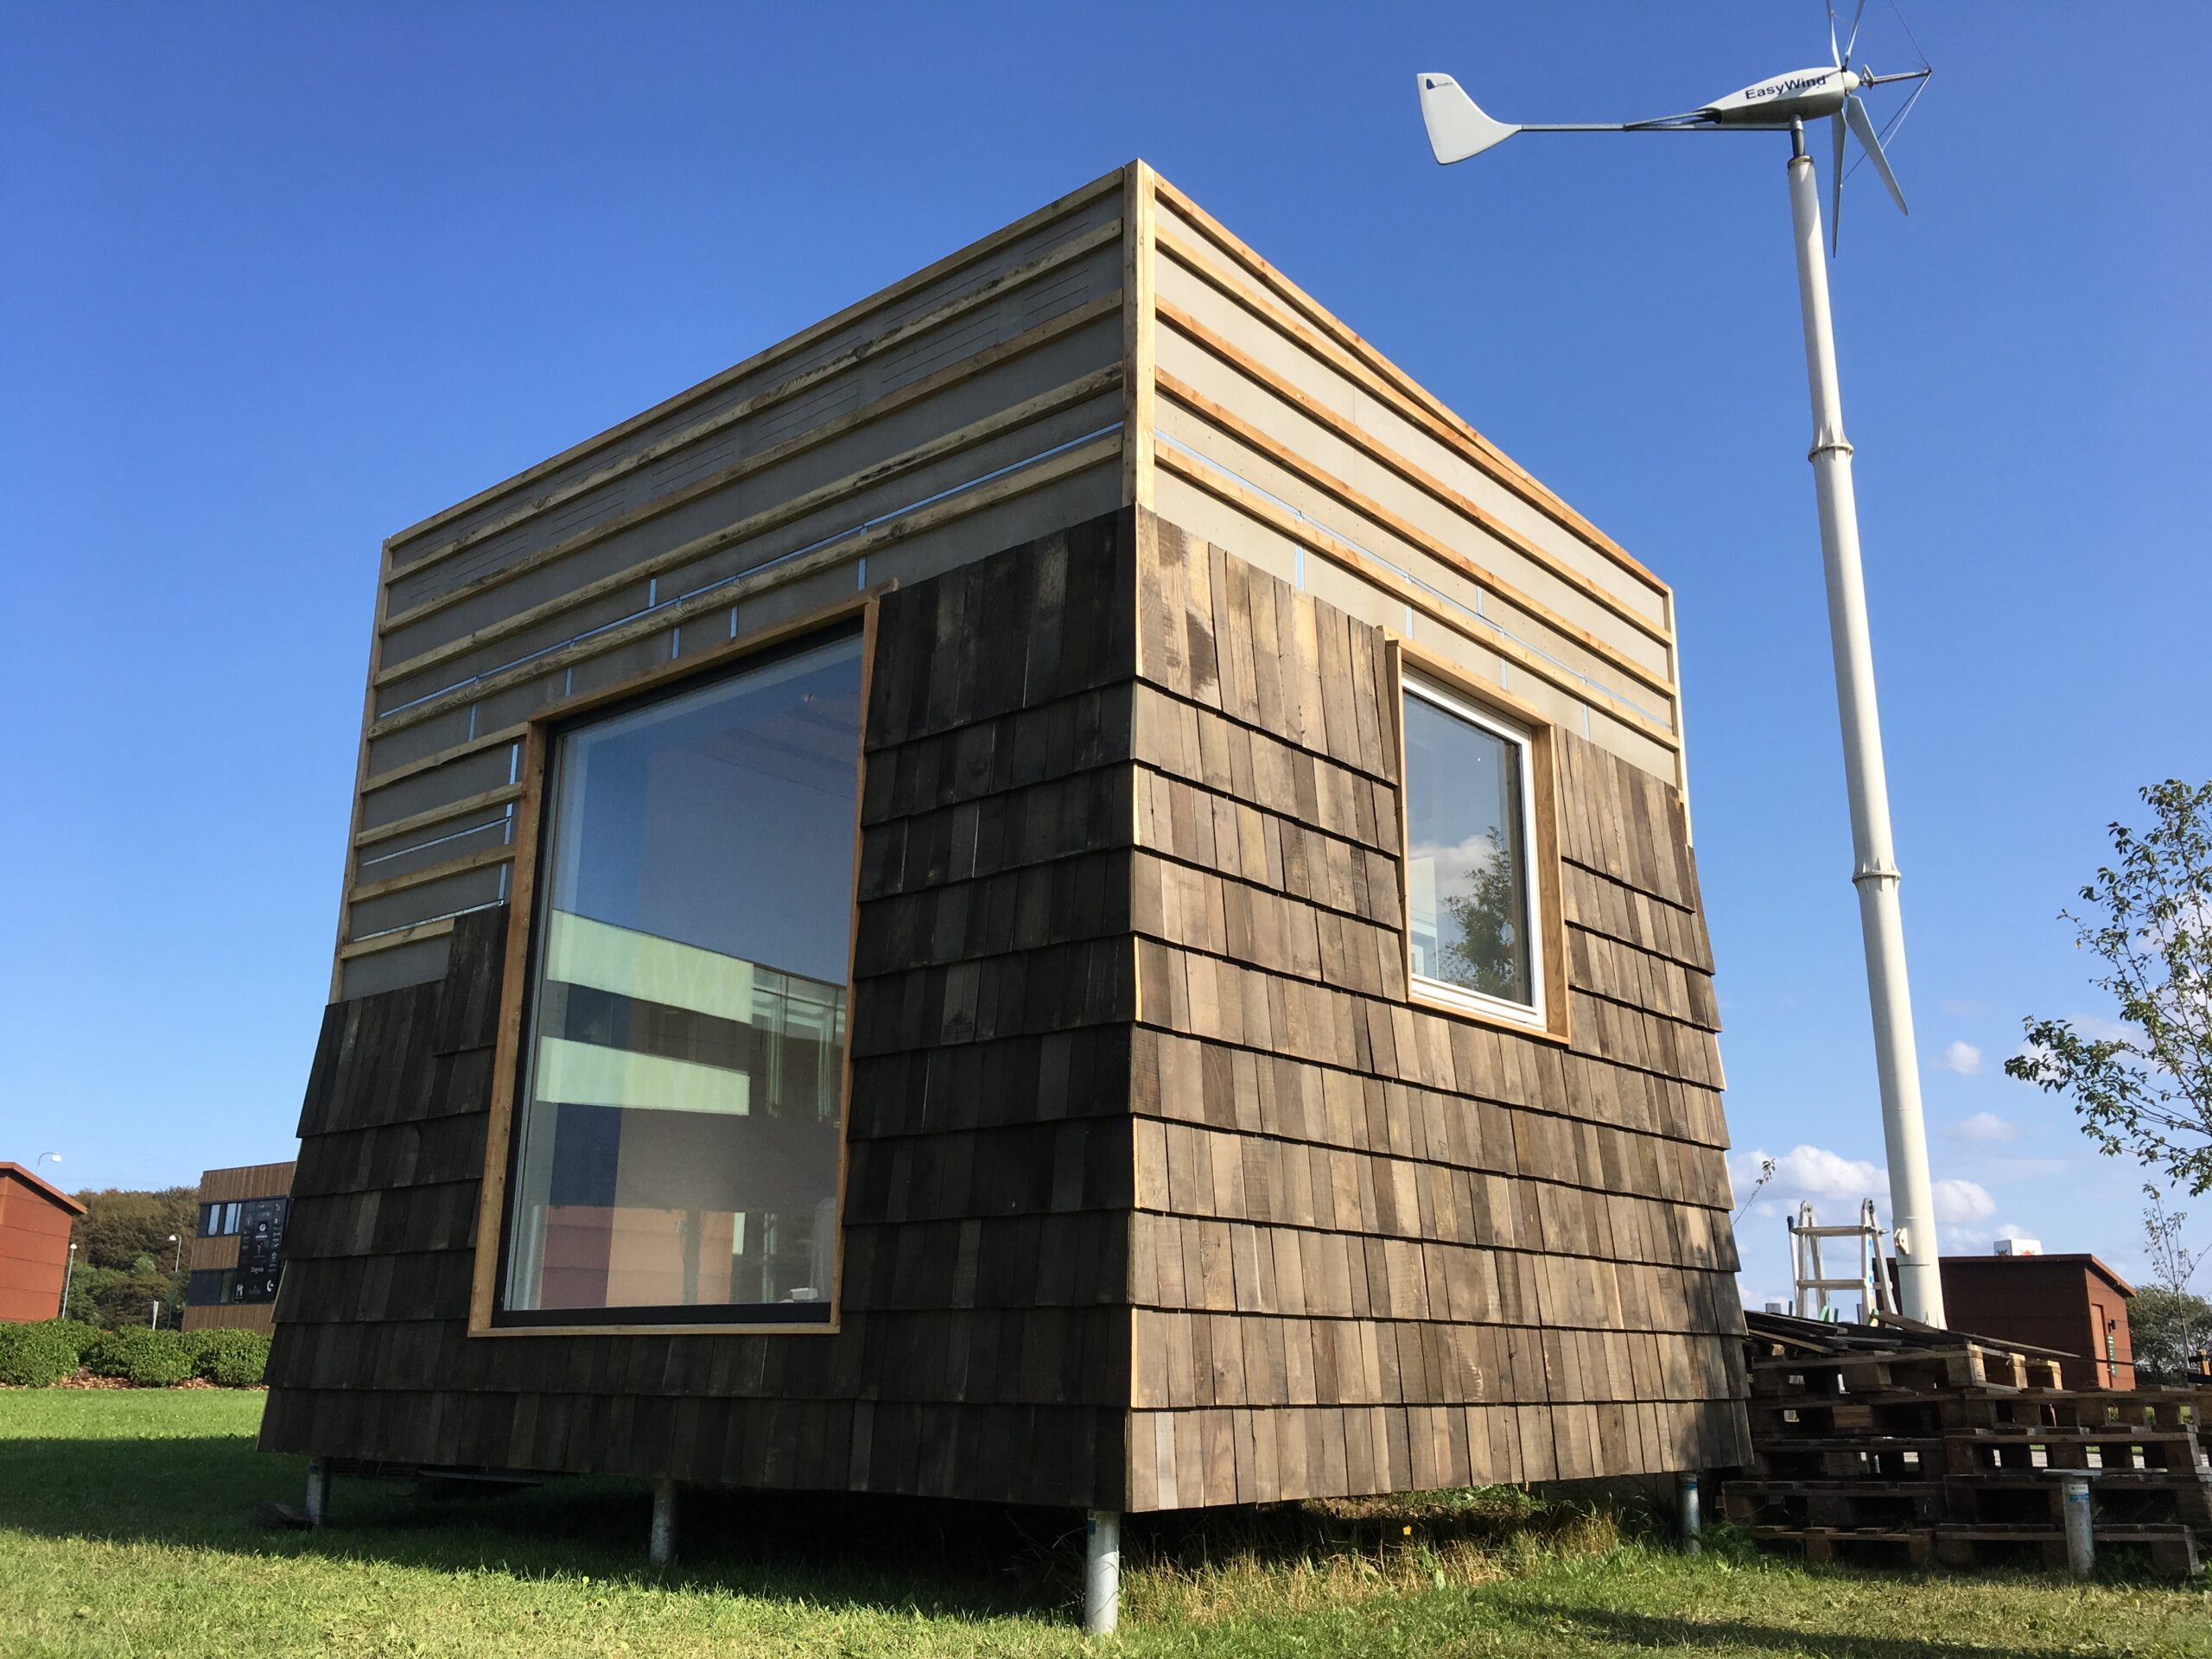
As outer cladding for this project, we choose to use facade shingles made of acacia wood. Acacia wood is a self-impregnated type of wood and therefore ideal for use as outer cladding.
The cladding is installed as a ventilated facade cladding, meaning that it is mounted on distances strips that keeps it at a distance of the raw houses outer panel.
This ventilation gap helps to dry up the cladding quicker after water exposure from rain. Prolonging the claddings service life.
This type of facade cladding is just one example of many options available for covering a raw house made of ReBLOCKs.
Interior cladding
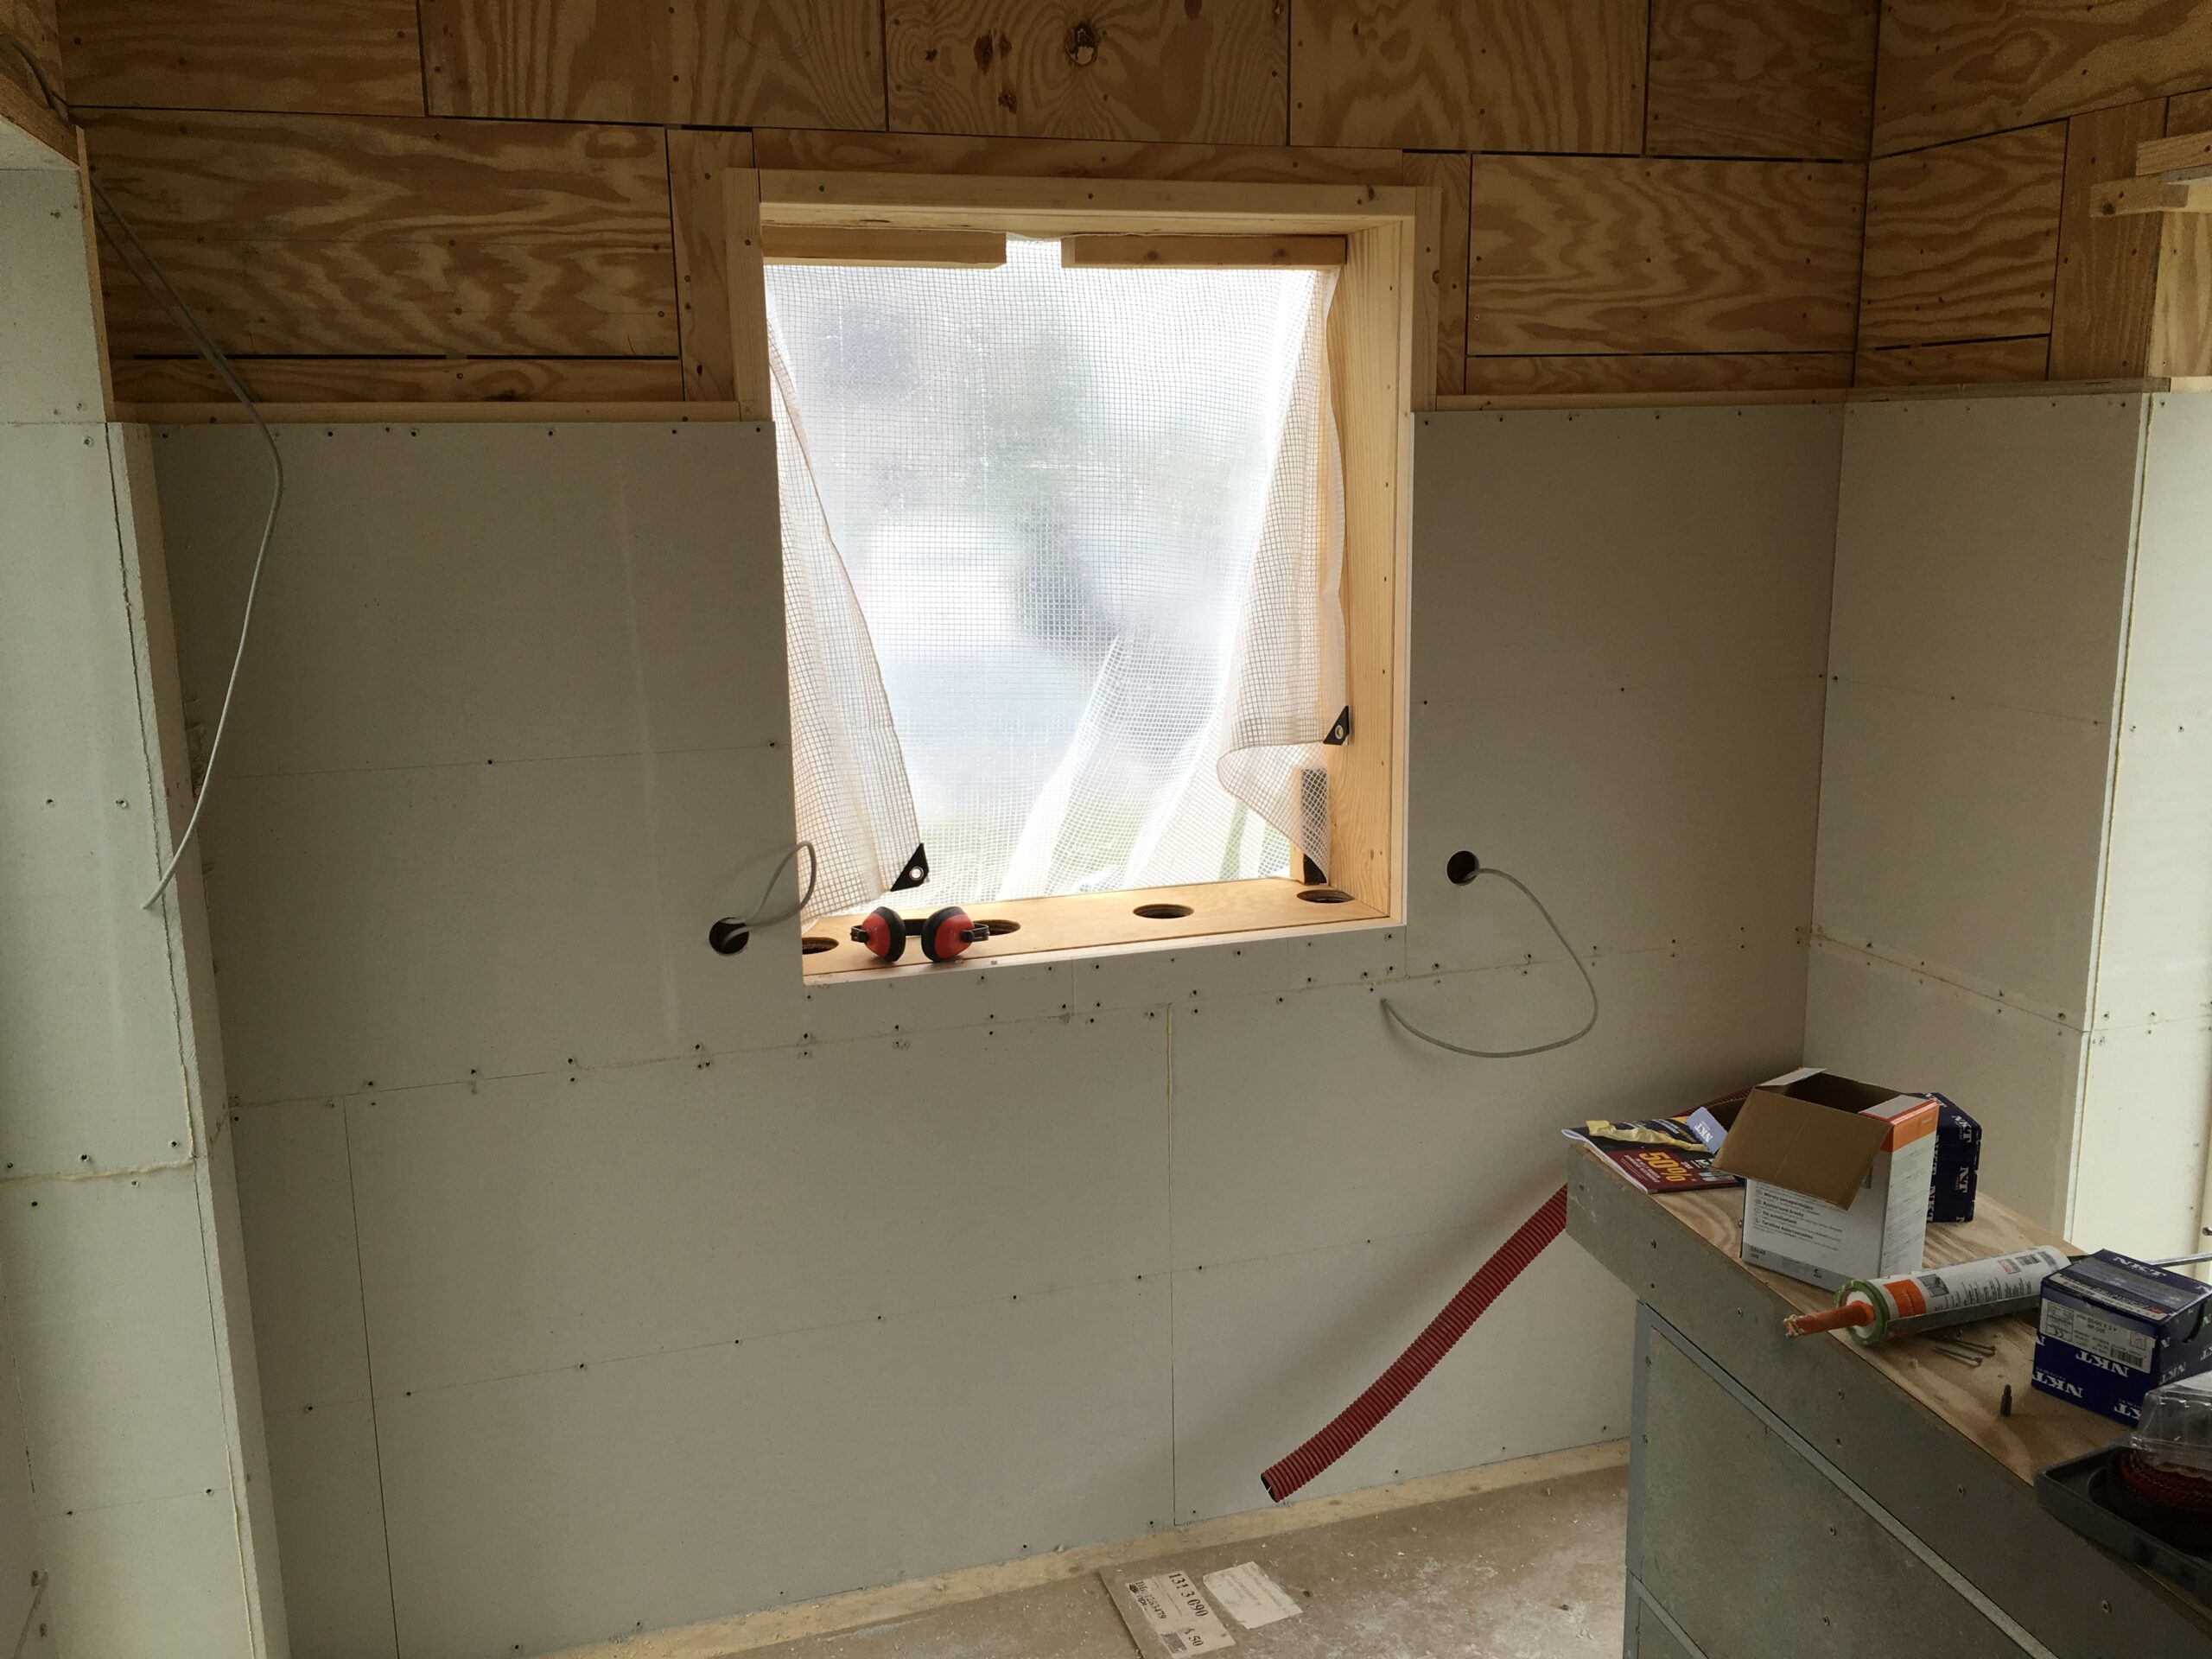
As interior cladding, we chose to use a fiber plasterboard as it is robust and suitable as a substrate for hanging furniture and other objects on the wall.
Screws can be screwed directly into the fiber plasterboard and absorb large loads without additional measures.
The fiber gypsum is quite simple to work with. All board edges simply need to be screwed and glued and then the board is ready for the next surface treatment.
The fiber plasterboard is typically installed on a distance strips mounted on the interior side of the ReBLOCK. The distance strips creates a cavity in which electrical cables and water-carrying pipes can be routed and hidden along the wall, making it easy to make power or water outlets where needed.
Plaster and paint
Time for the last surface layer.
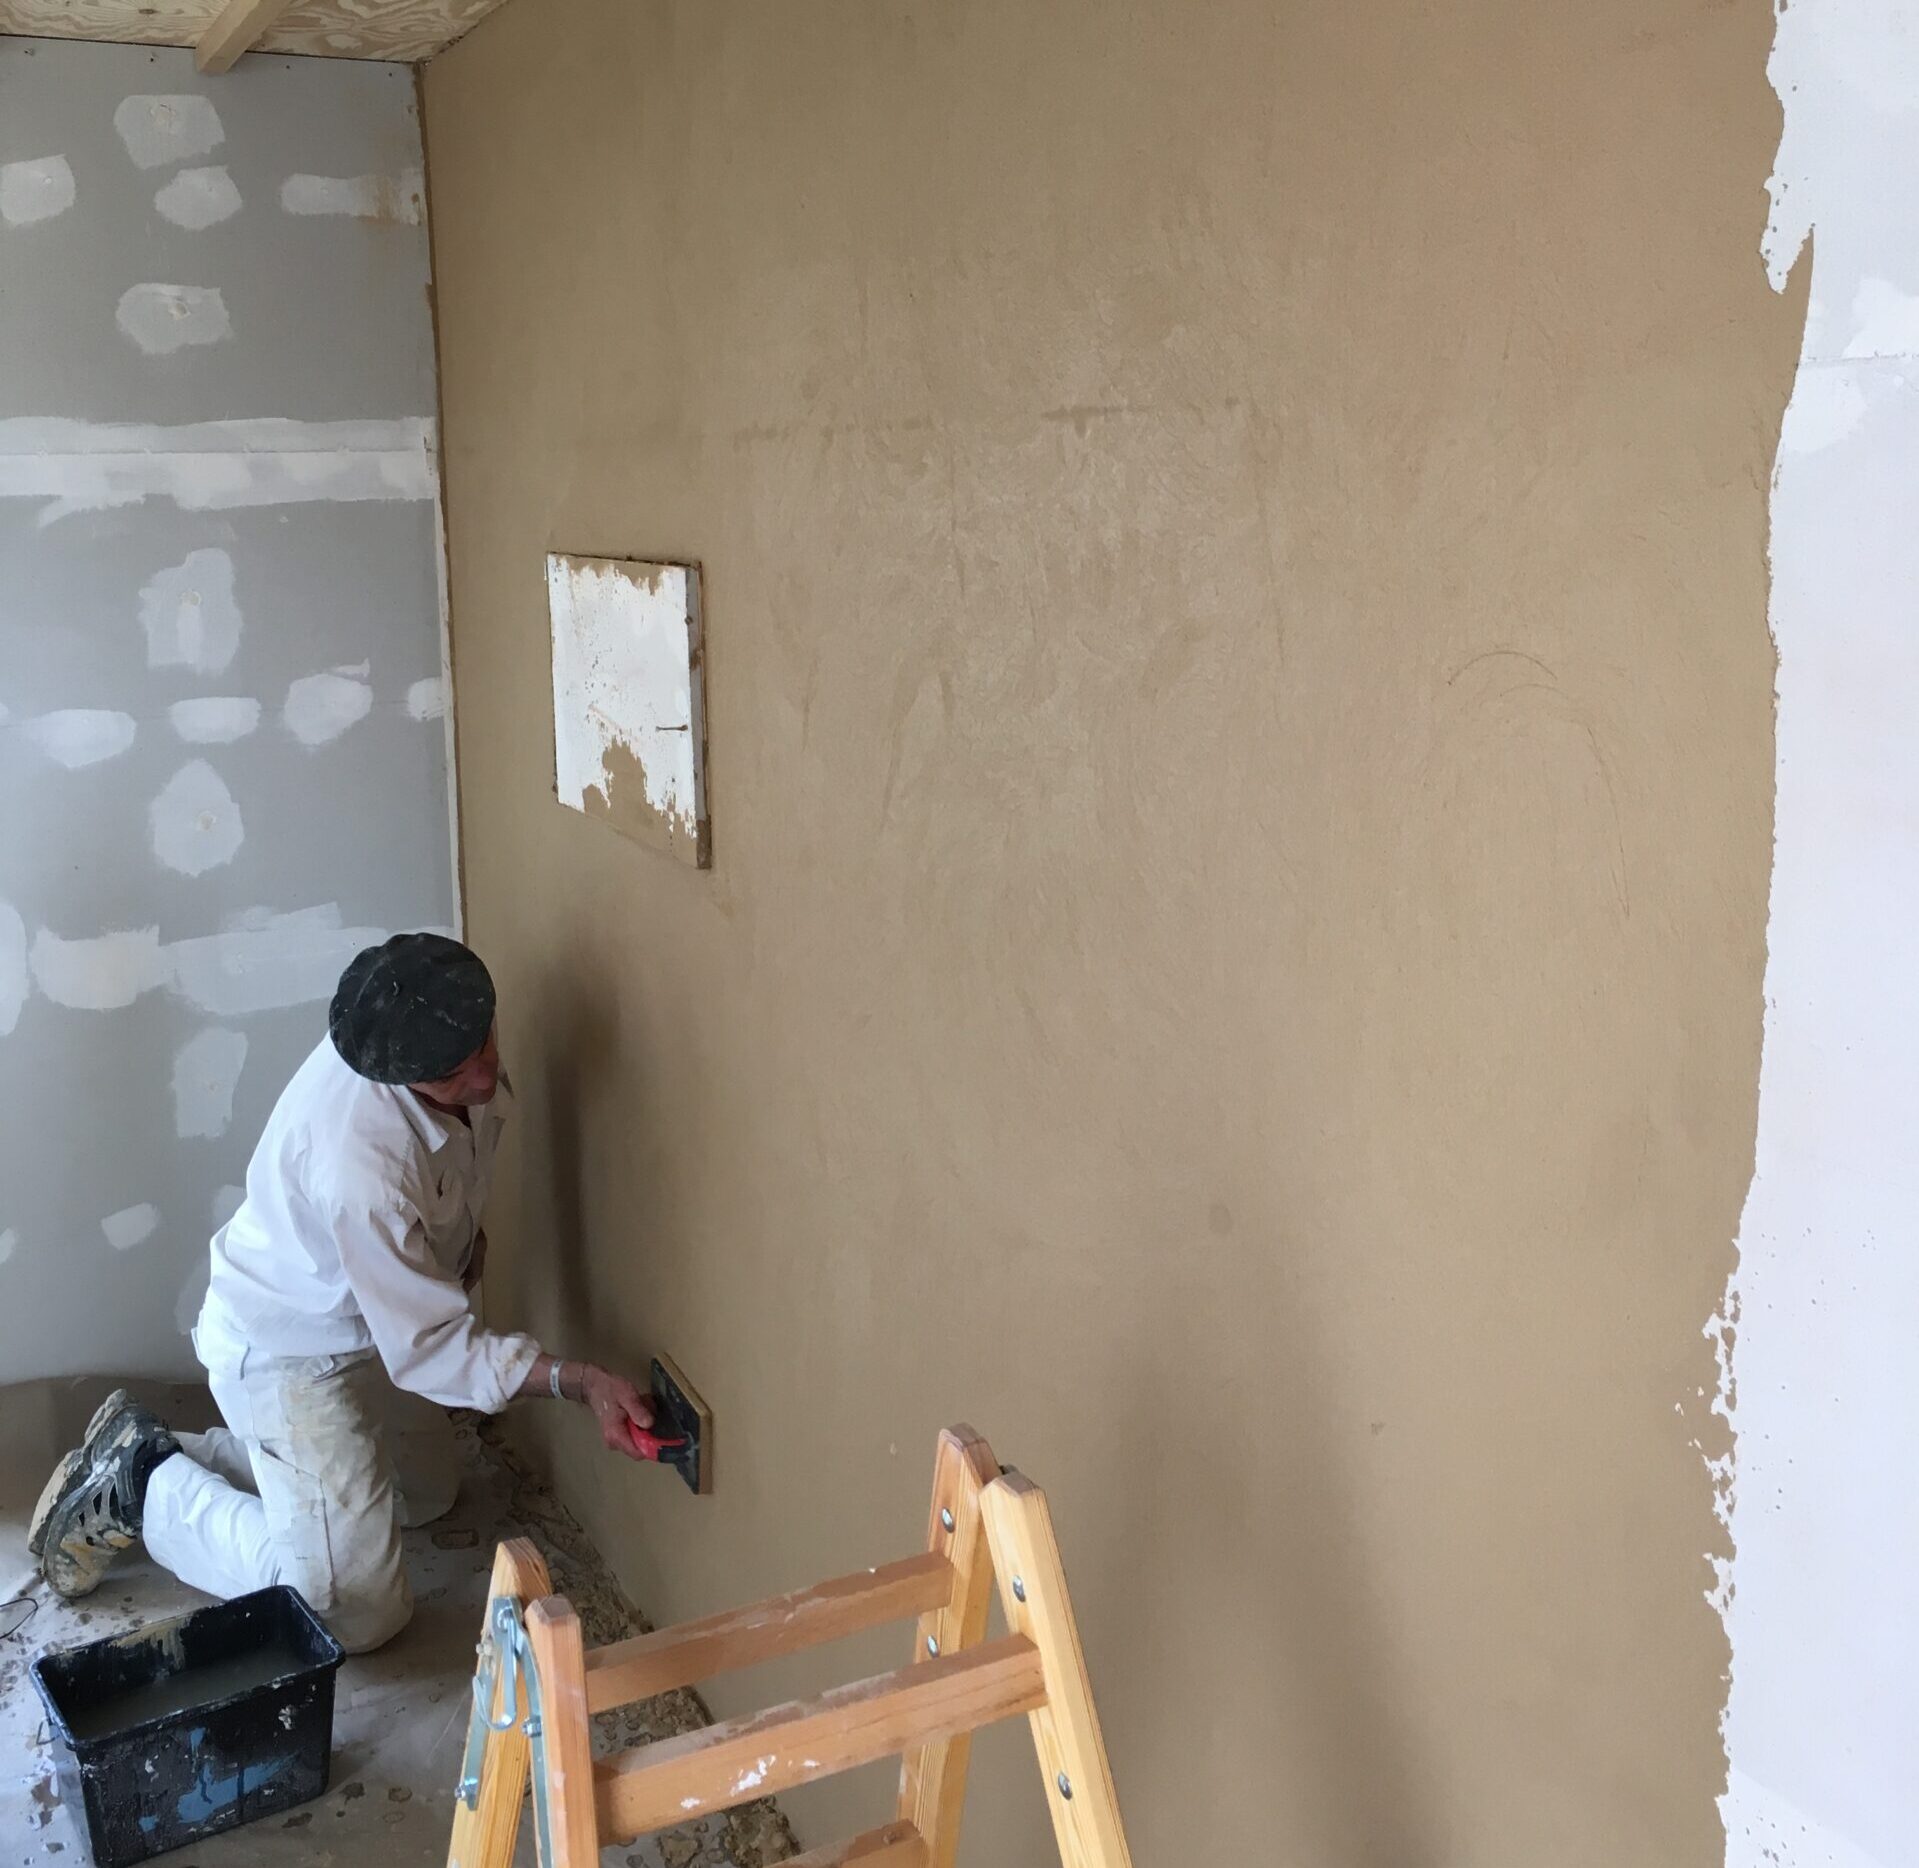
In this project, we chose to apply a clay plaster to the fiber plaster walls. Clay plaster is a naturally colored clay plaster without solvents, ideal for use on indoor wall surfaces.
The clay plaster can be applied with several different techniques that leave its surface with different expressions. Ranging from almost completely smooth to rougher surfaces with clear structures in them.
Finally, a clay paint was applied on top of the clay plaster.
The combination of the two clay products has left the building with a very pleasant indoor climate. An indoor climate that we value highly every time we are in the building. You have to experience it to understand it.
Flooring
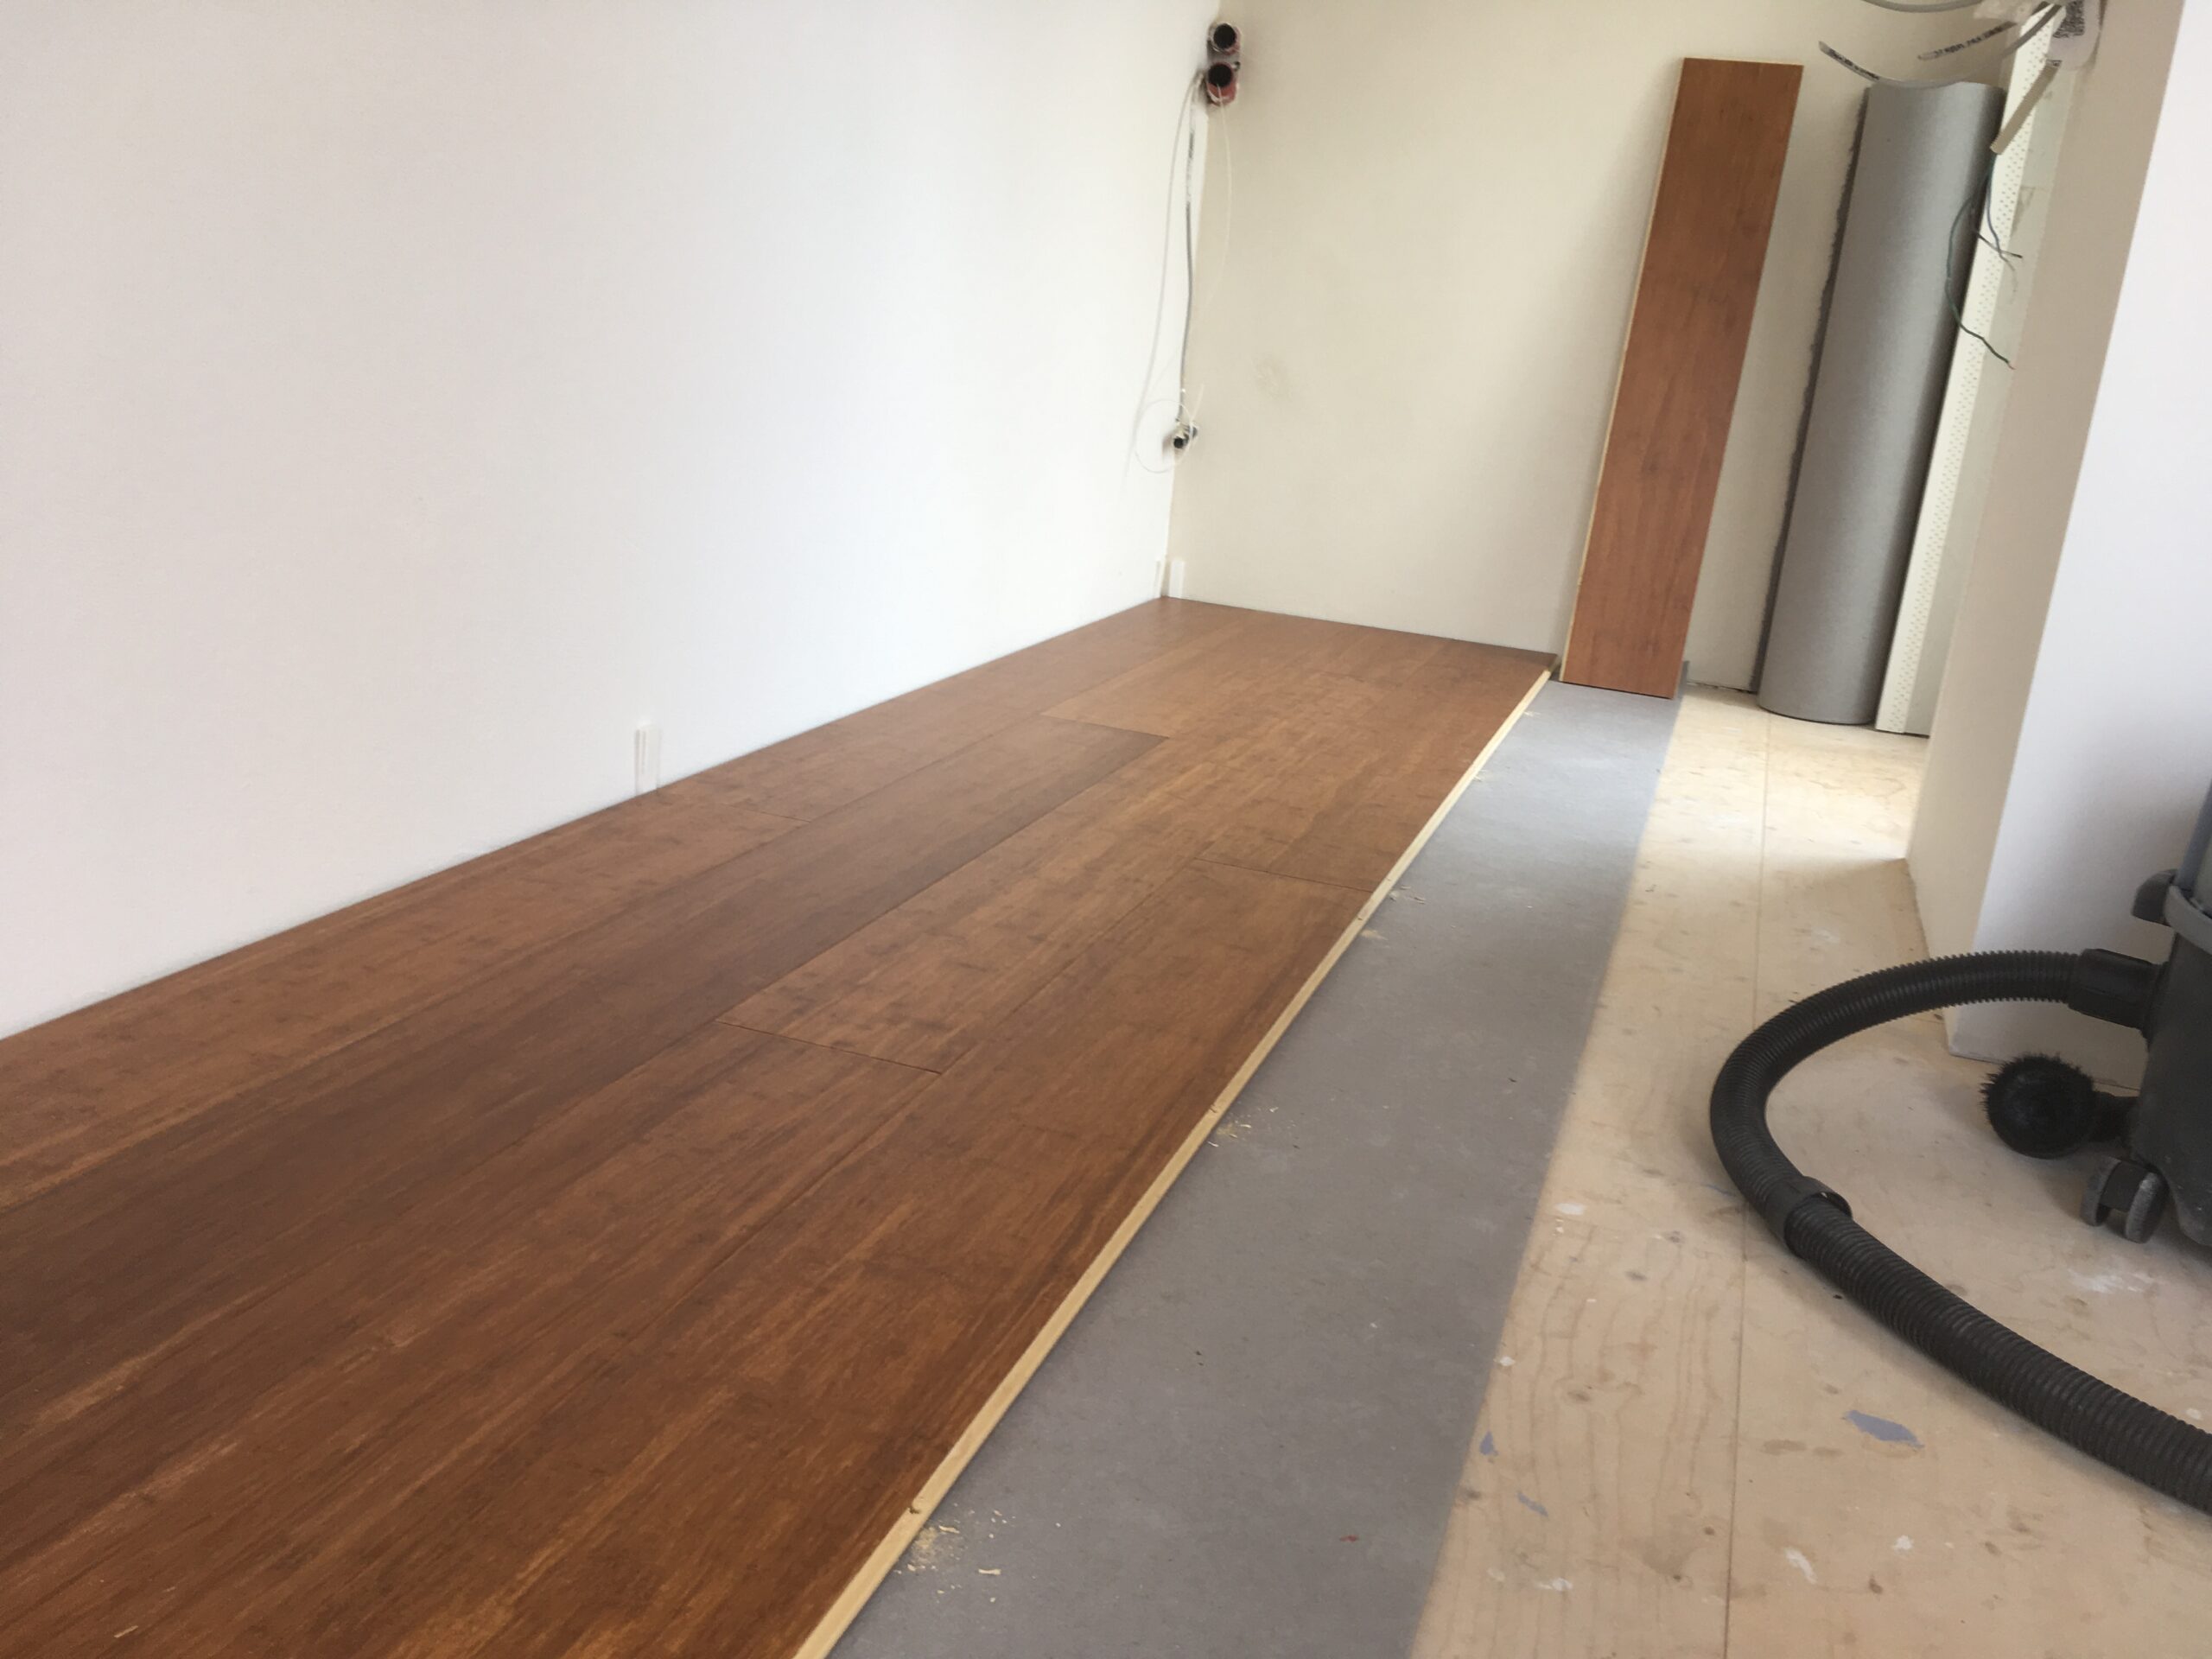
Installing the floor on our ReDECK floor cassettes is quite traditional. Nothing special here. In this project we put out a floor cardboard layer out directly on top of the ReDECK cassette. And on top of the floor cardboard layer, our wooden flooring.
The floor you see here is actually made of bamboo wood. A wooden floor type that is hardy towards wear and is available in several different color variants.
Moving in
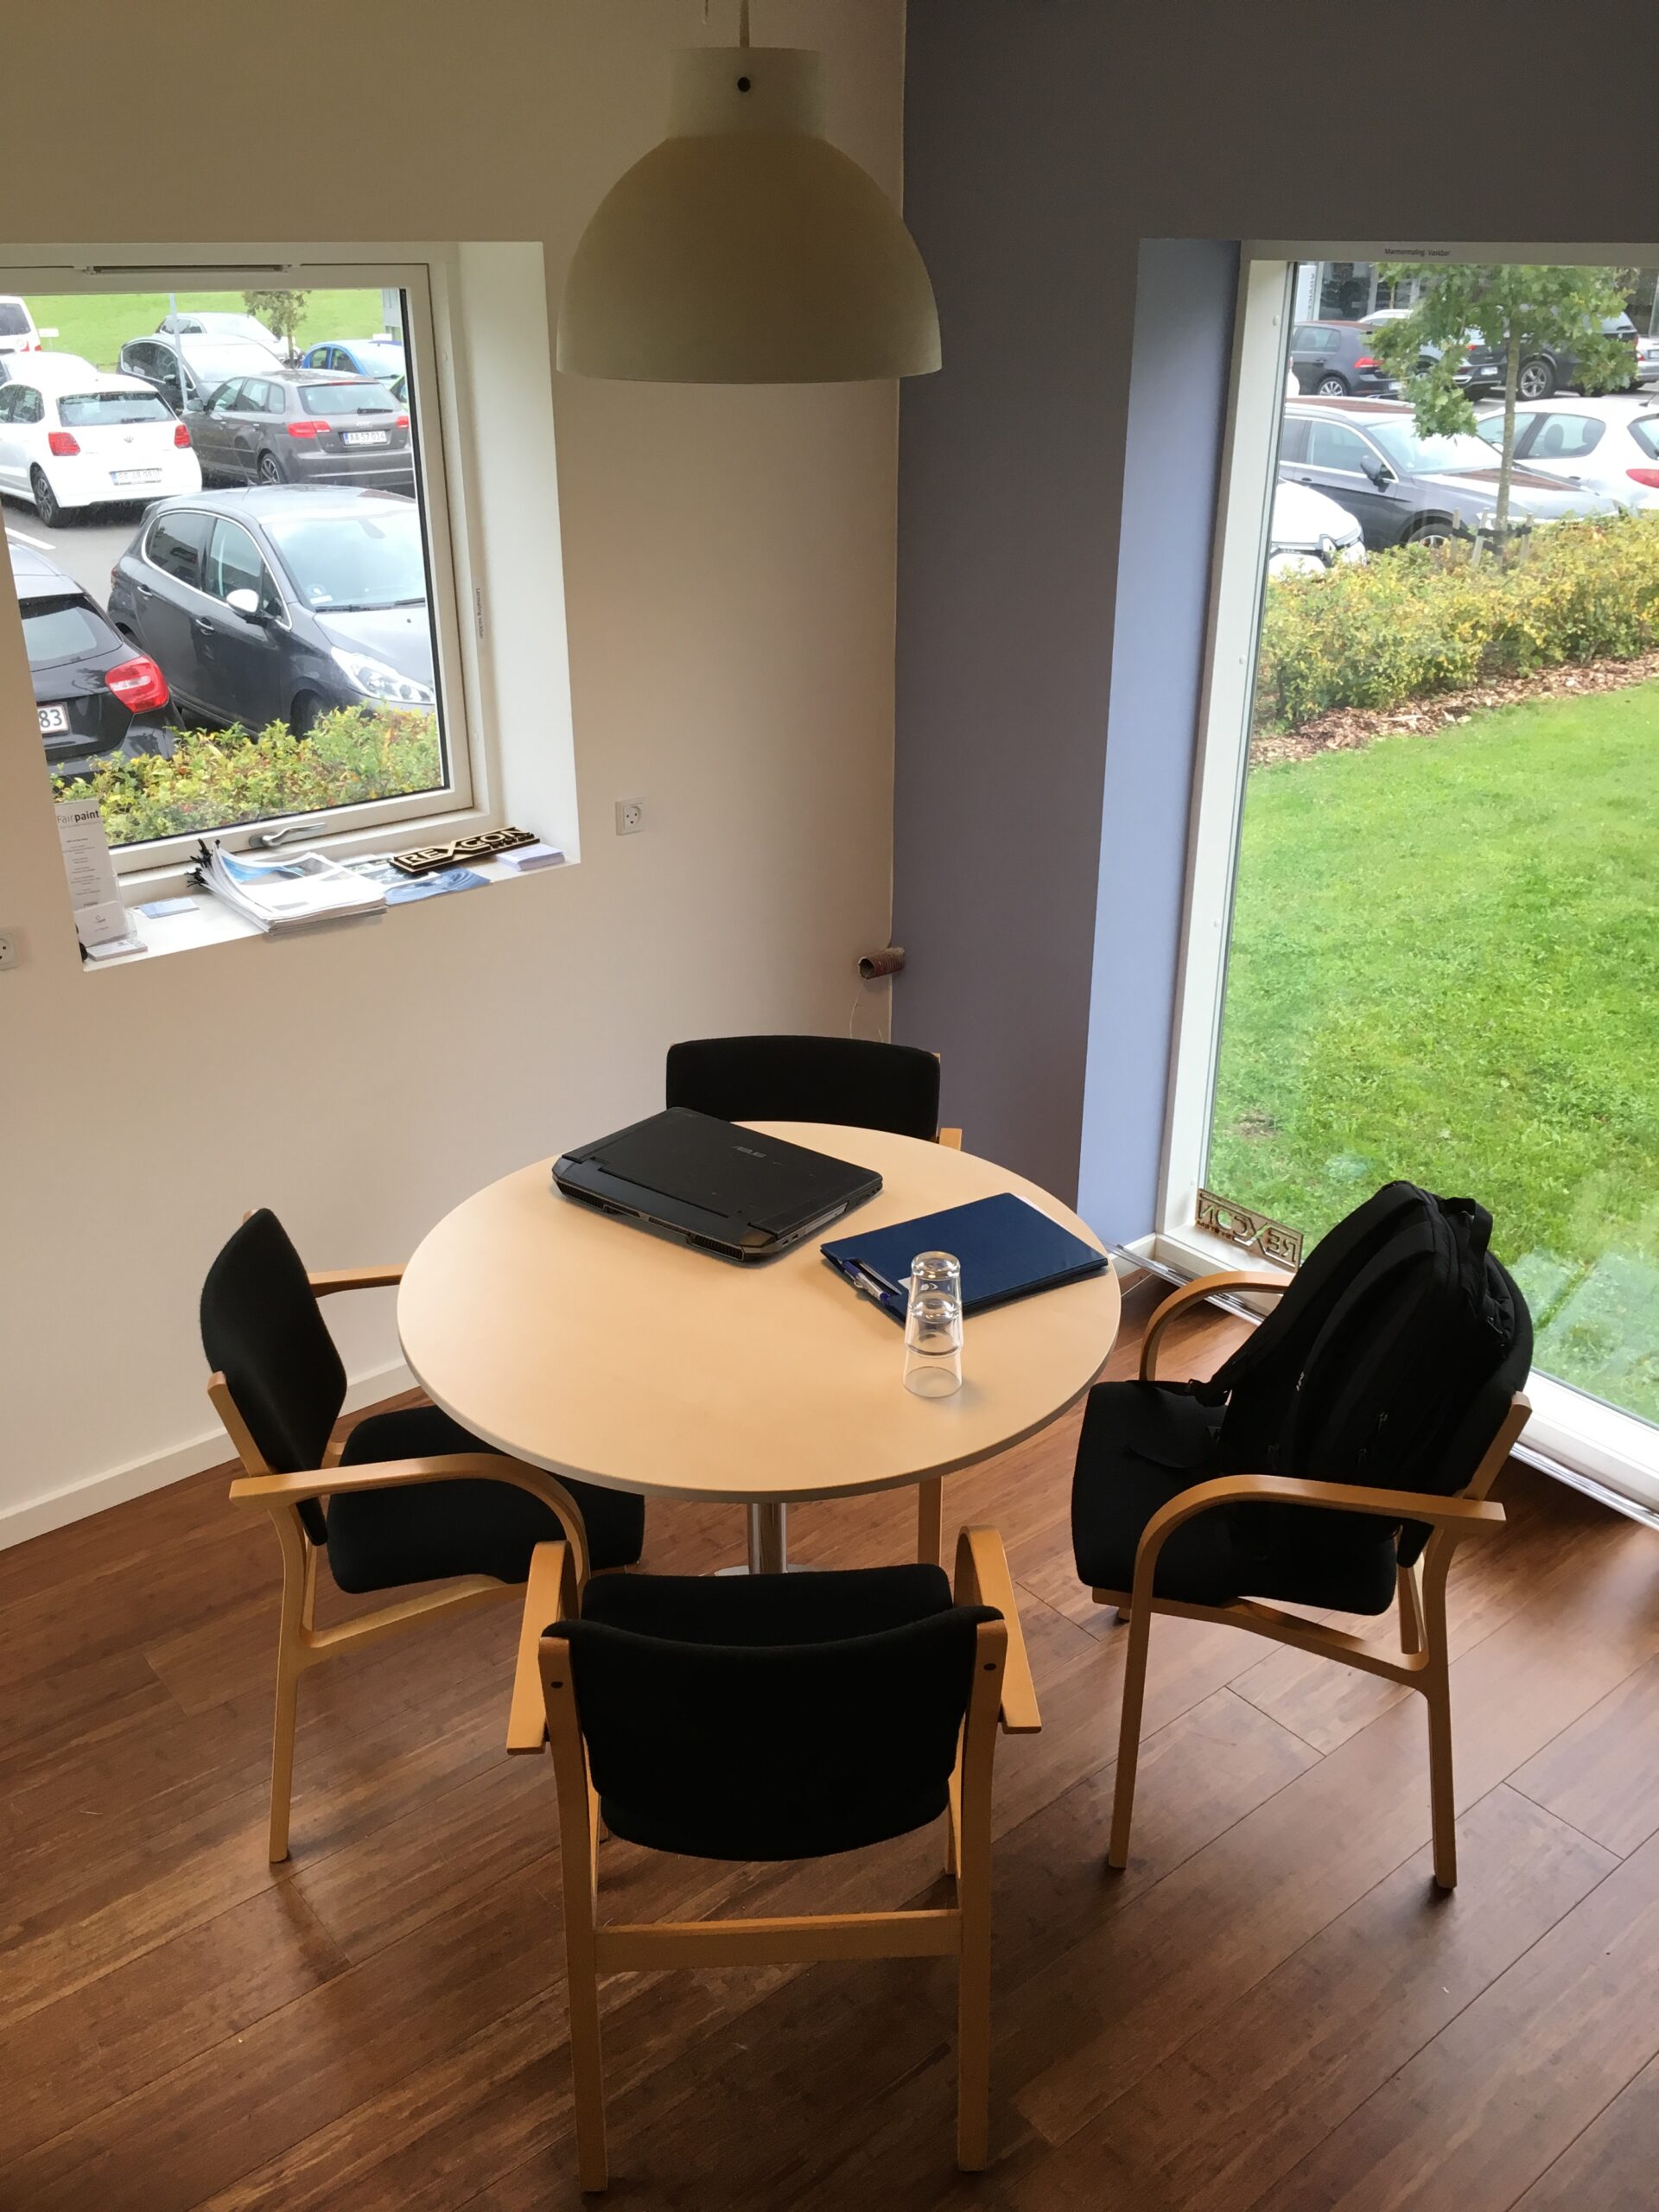
When all surfaces are finished from the inside to the outside of the house, you can’t even tell that the building is made up of ReDECK and ReBLOCK components.
We see this as a positive thing, as no compromises have been made, simply because one choose to use our building systems.
The end product is identical to what you would otherwise be left with, as if the building had been built in a more traditional way.
Using our products, you are instead left with a building that is more CO2 friendly, circularly designed and reusable, in contrast to more traditional construction methods that typically comes with a larger CO2 footprint and are built in ways that make it difficult to recycle the resources that are built-in into the project.
The final build
Visit it at:
Lysholt Allé 8
7100 Vejle
Denmark
